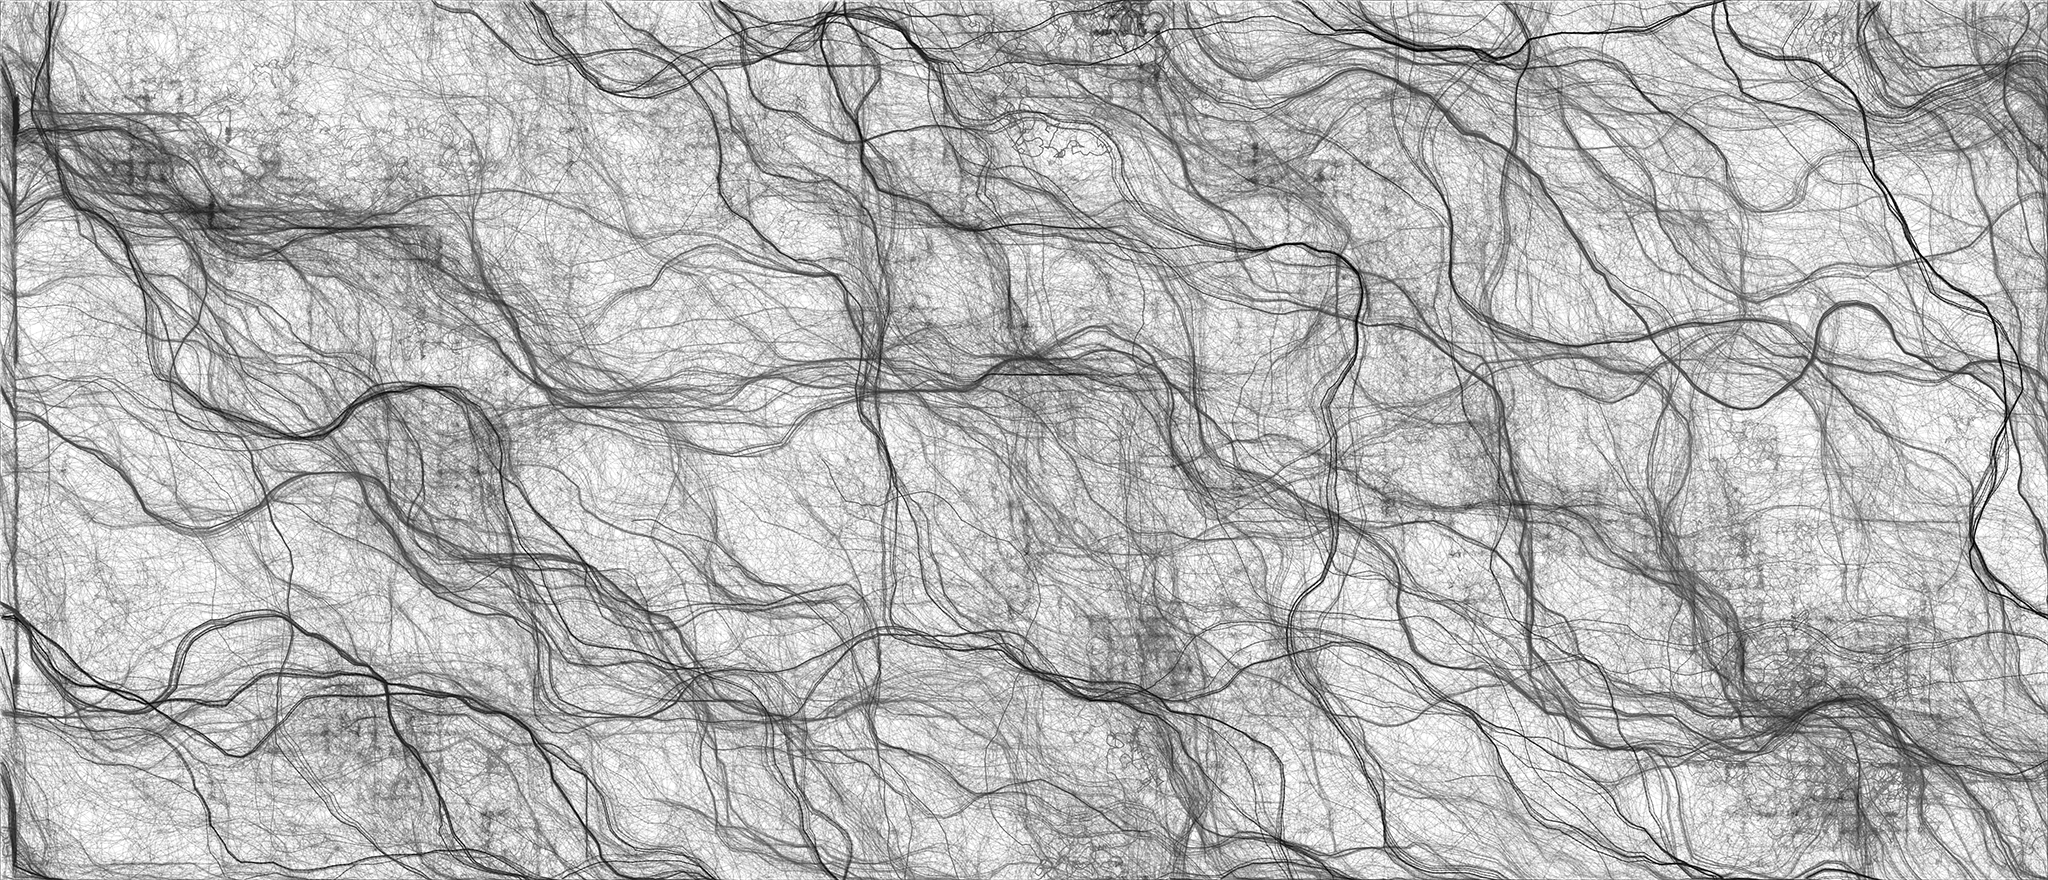
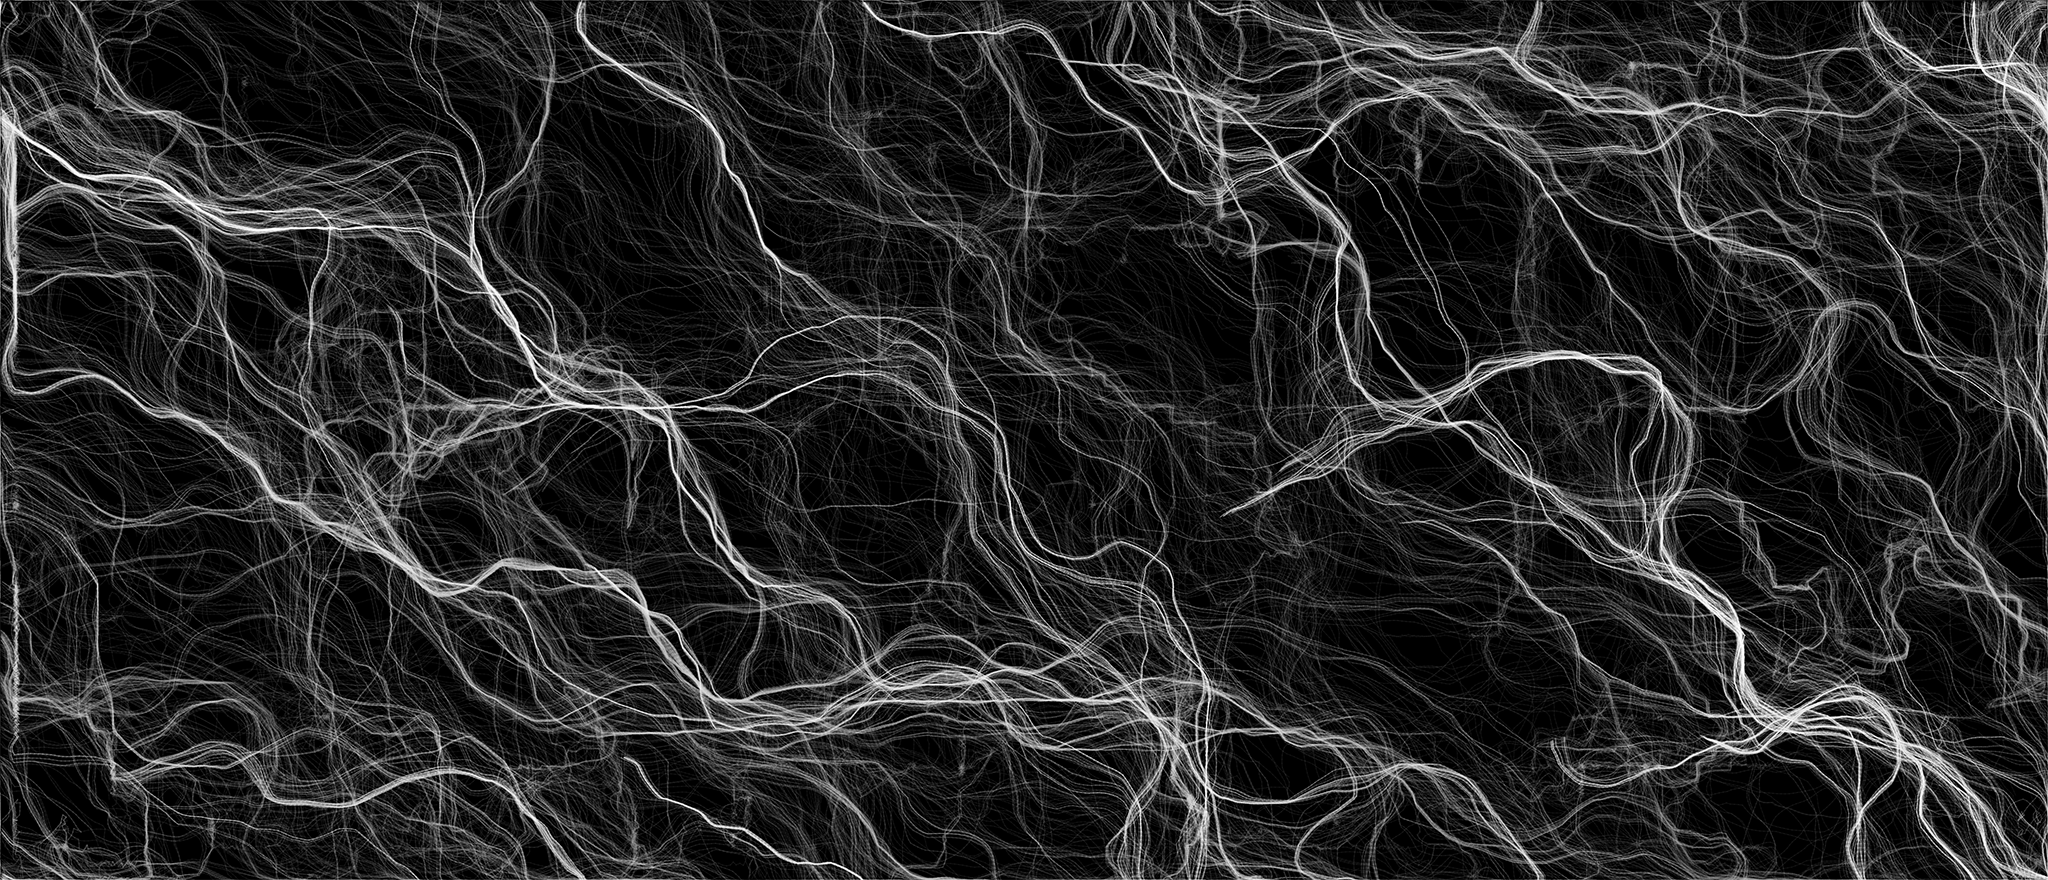
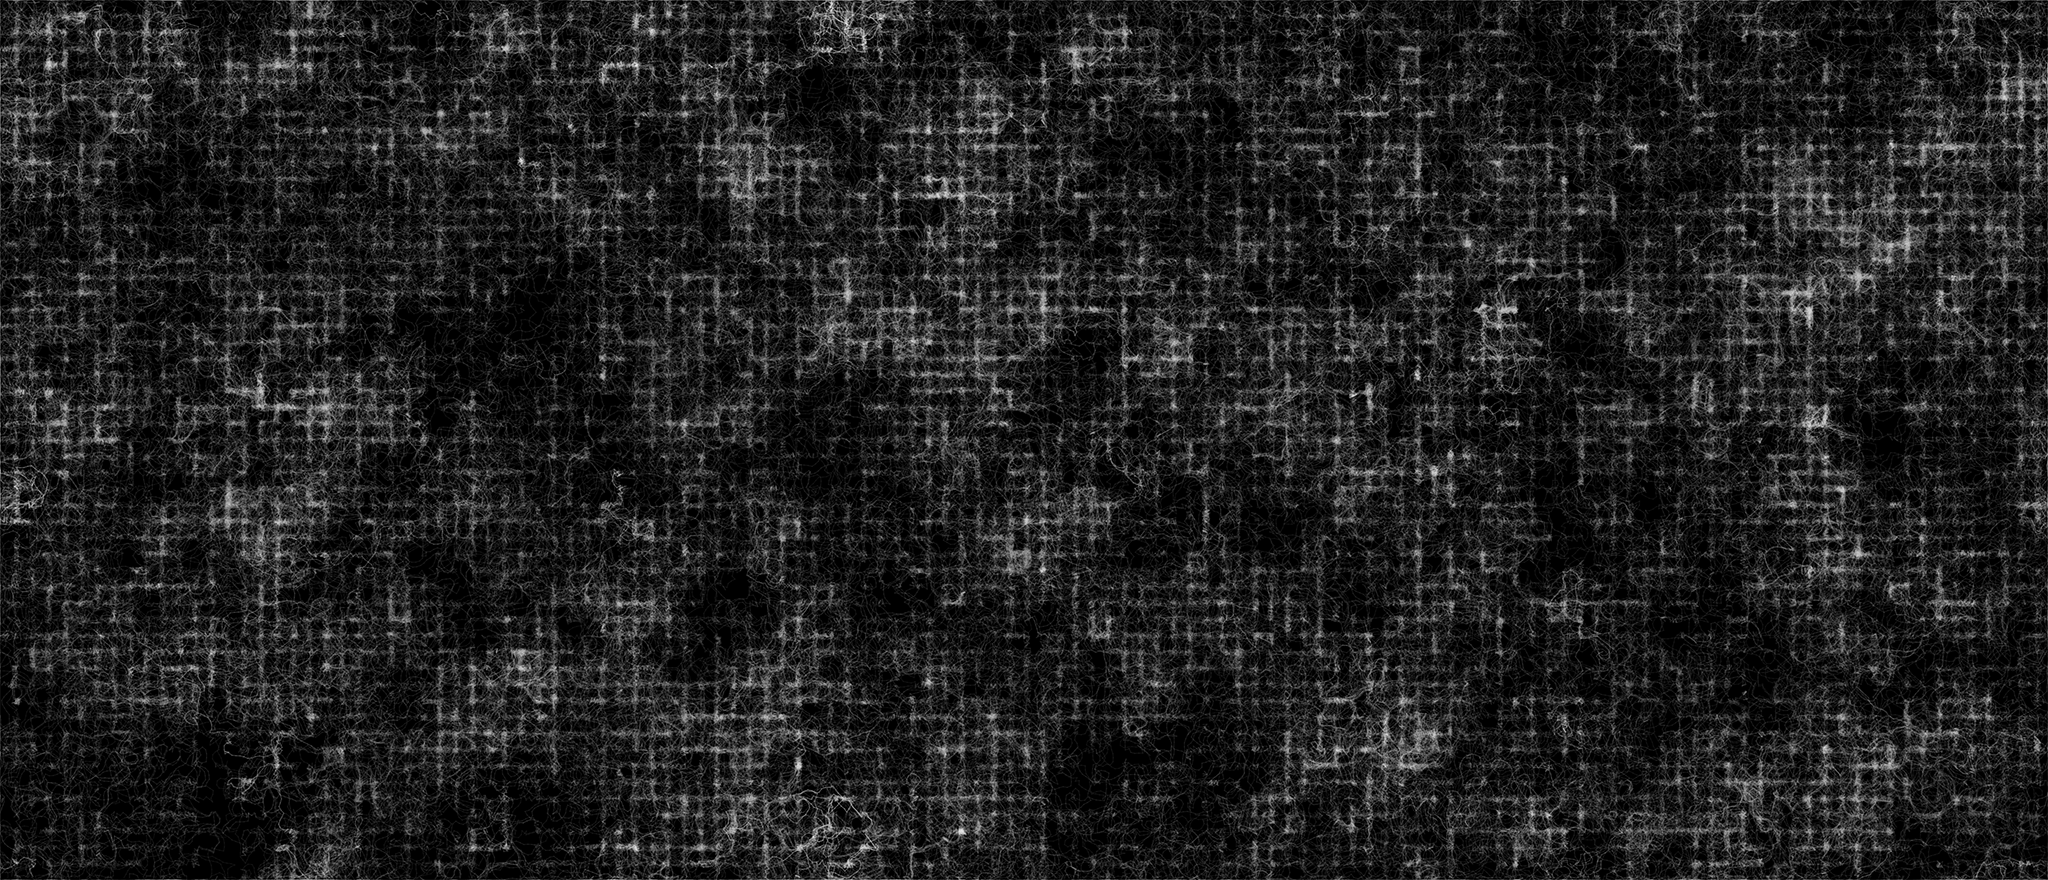
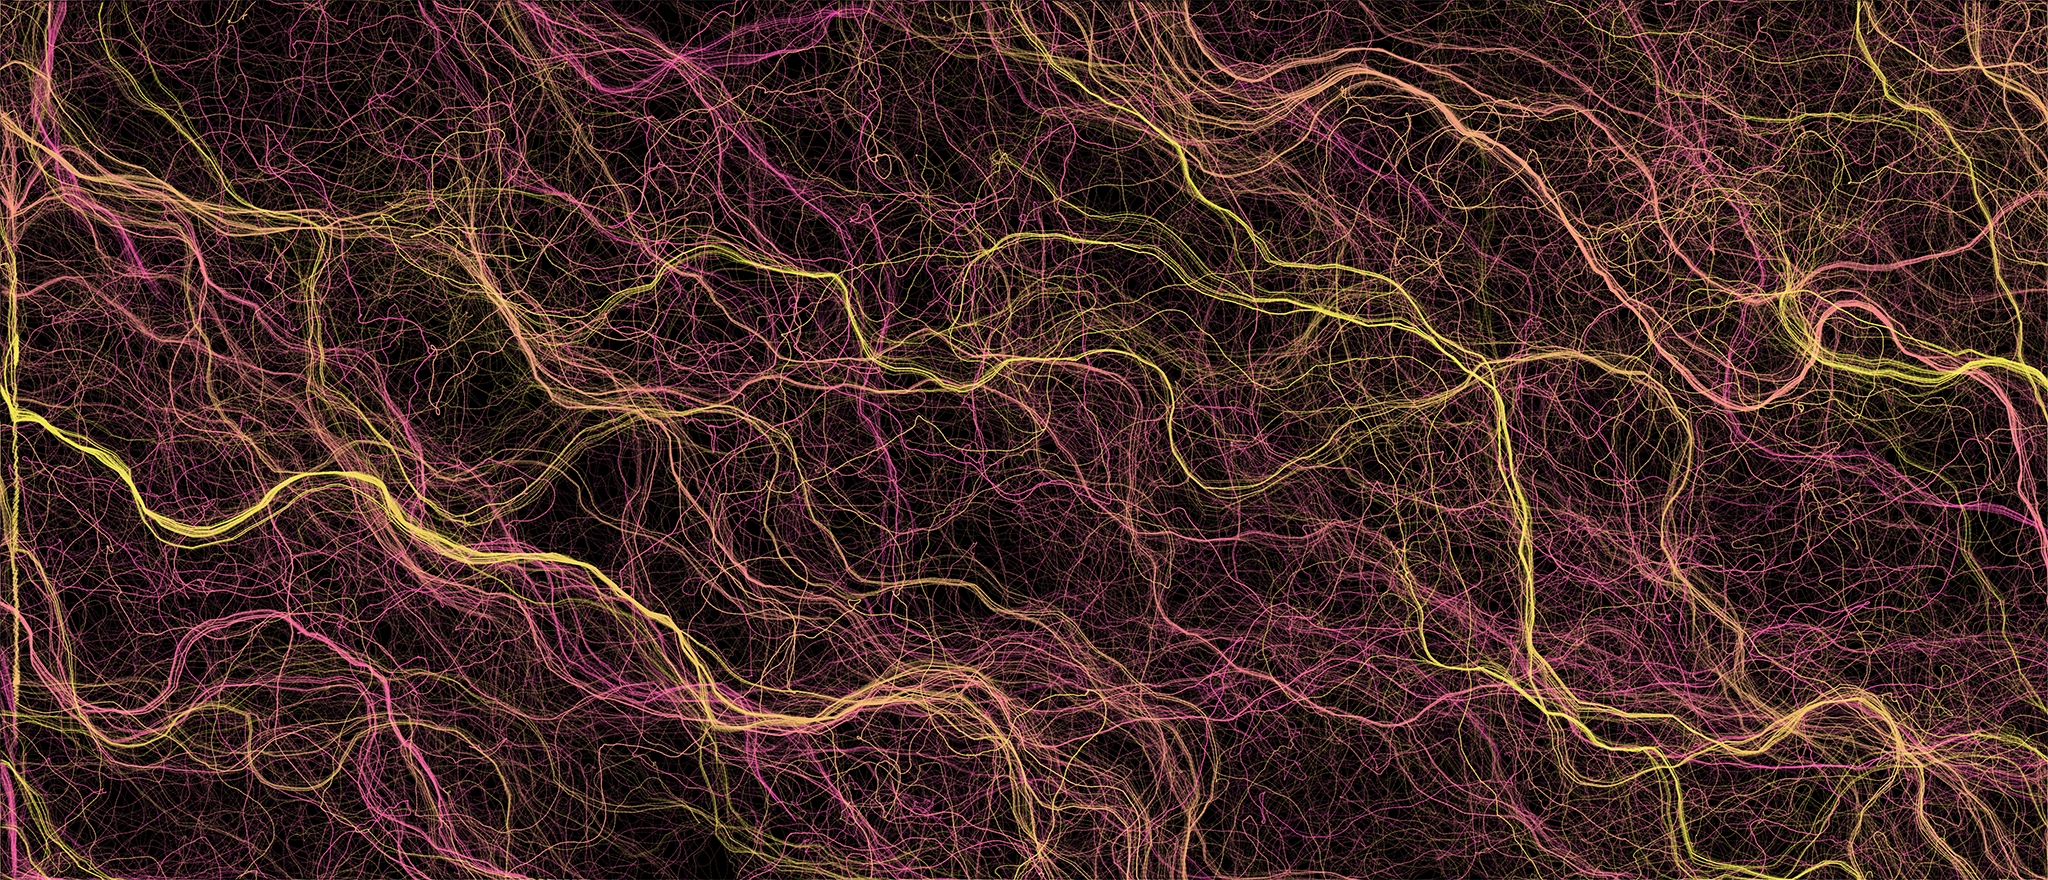
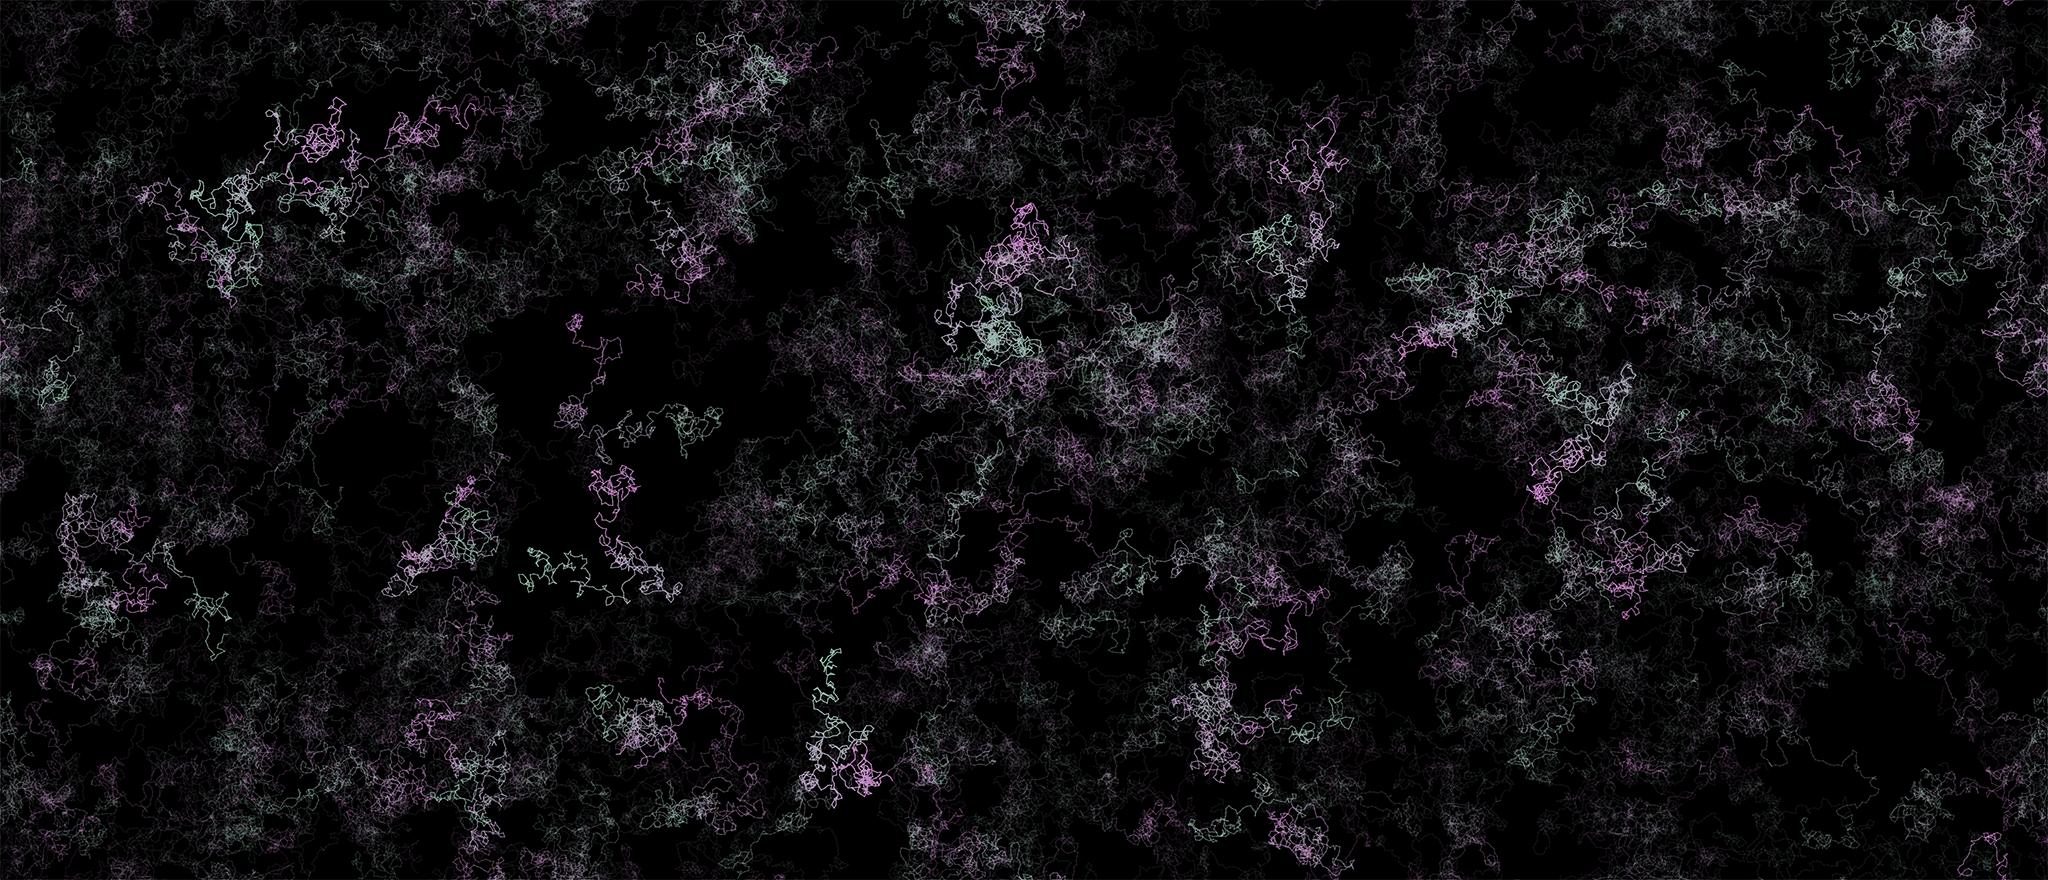
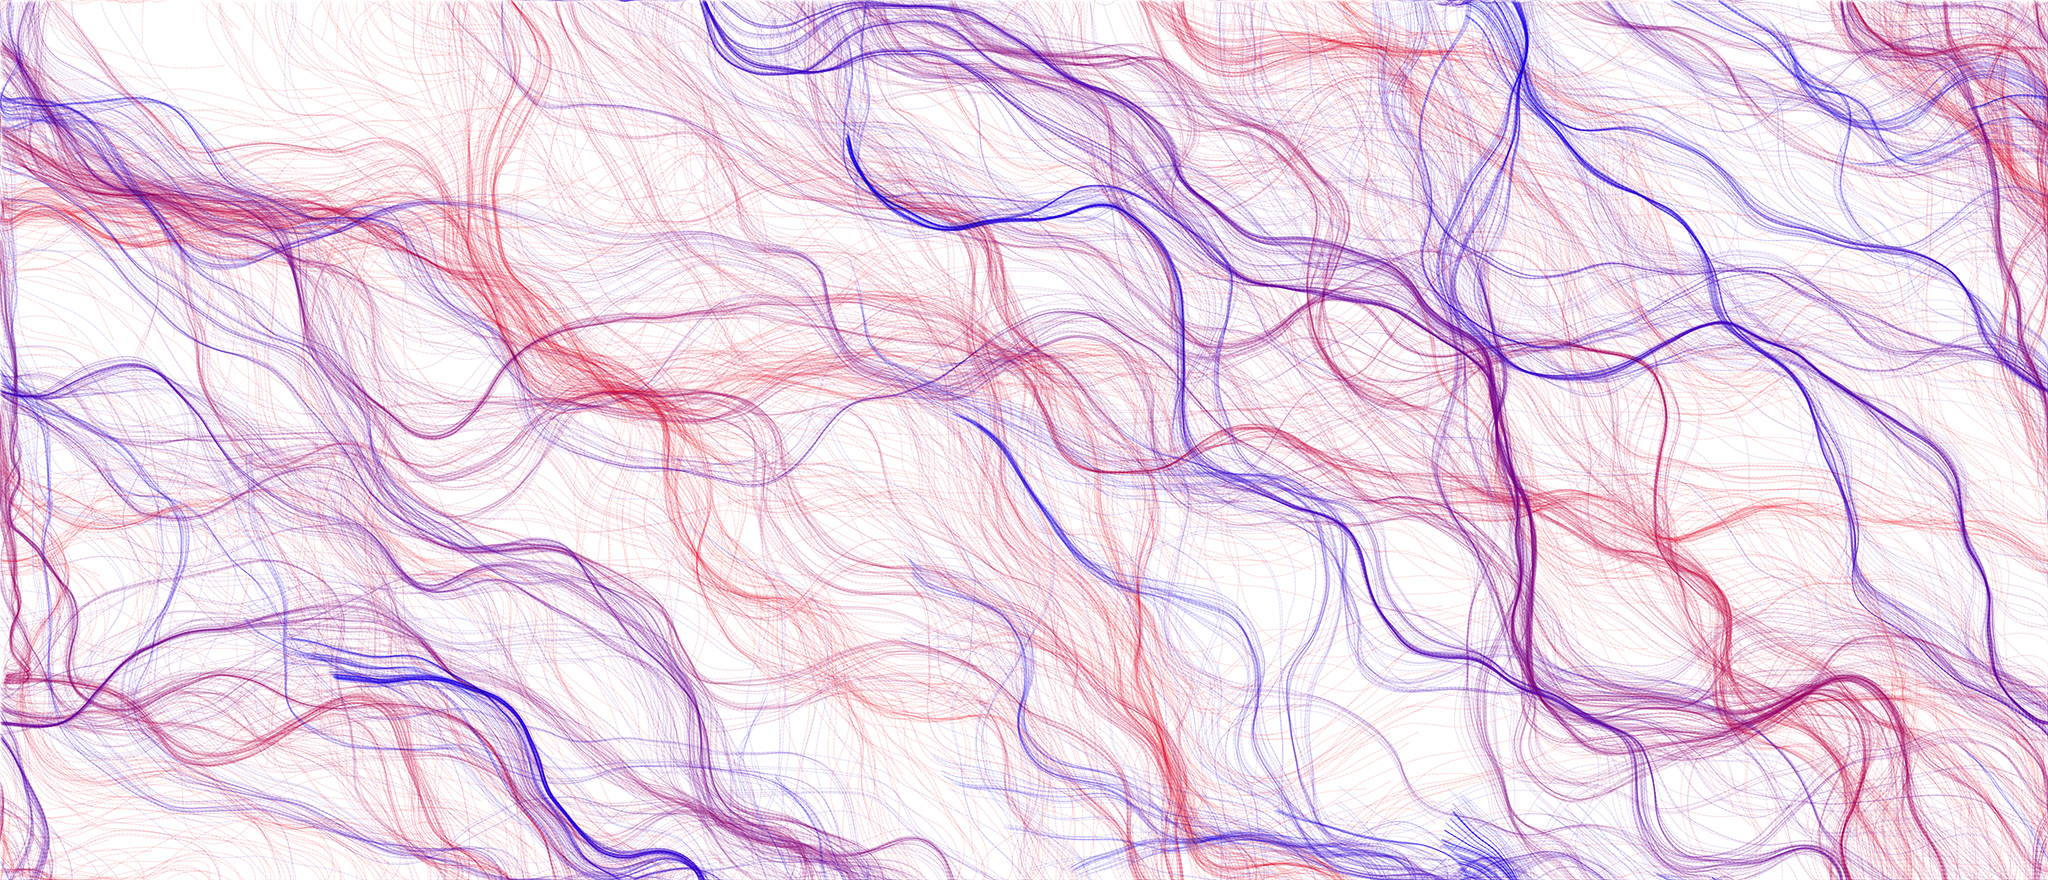
I’ve always had this particular exercise in the back of my mind ever since I saw, well, the thumbnail to the Coding Train video, but there was no point in doing it until I had some idea of what Perlin Noise was and get a bit more comfortable with both the setup on this site and P5.js, but having done that, I jumped at this and it’s been most rewarding.
While this exercise needs a bit more tweaking, I want to take the time to walk through what’s happening while it’s fresh in my memory. As an overview, what you’re seeing being generated bellow is the combination of two things, force and moving particles. We’re building a grid of force vectors, spread out across the canvas into which we drop individual particles at random locations which, as literarily as leaves in the wind, move around the canvas leaving colored trails behind. Let’s look a little bit closer to each part of this puzzle.
Force vectors
So following the plan layed out above, the first piece of this puzzle is the vectors. The idea here is to cover our nice little canvas with a series of vectors all pointing to slightly different directions and to do that we’ll use Perlin Noise, as we did in the previous examples, but instead of placing pixels with a given color, we’ll orient vectors to a given angle based on the numbers that we pull from the Perlin Noise data.
As you can see, the little lines are spread out evenly on the canvas and their orientation changes ever so slightly as time passes. We do this by navigating all three dimensions of the Perlin Noise space, mapping the first two to the location on the screen and iterating the third dimension forward on each animation frame. Given the Perlin Noise characteristics the results are random but are also all related between neighboring locations.
Particles
With the field in place, we can add the final piece to our puzzle, the particles. Particles are the only visible parts in this exercise, they move around influenced by the vectors we created above and they leave a trail as they move, that’s what’ll ultimately generate the images we see.
As you see the behavior is to follow the pathways created by the vectors, particles are randomly placed but once the “currents” take hold they start to follow common paths - where the combined forces push them into - but the field itself changes over time so particle groups are broken apart and new paths emerge, which is why we see this organic like behavior begin to emerge.
You can play around with a few settings bellow, namely:
- Color Scheme: I’ve added a few different color schemes for background and lines, happy to throw a few more so hit me with suggestions
- Number of particles: The more particles you throw at the system the more “paint” we get on, try to change this dynamically , start low end high :)
- Angle Multiplier: This influences the angles the vectors might take on. The default value is one, which means the angles vary between 0 and 360° but as the videos mention and someone brought up to me, Perlin Noise as a typical bell curve distribution, which means some angles will be statistically rare and this variable influences that by increasing the range, i.e. say the magnitude is 2, the new range is angles between 0 and 720° . The more you push this the more you’ll see particles going in circles as the field is changing much faster beneath them (my metaphors need work, I know)
- Magnitude Multiplier: Same as above but applied to the magnitude of the vector. The higher this number the “stronger” the vectors will influence the particles
- Debug mode: While this will decrease the frame-rate quite a bit will let you see exactly what’s going on, you can see individual particules flowing through the system and you’ll see all the vectors that influence them. Good to see how the other controls affect the system
Finally there are some basic sketch controls you can use:
- Play/Pause will … well, start - stop the system
- Reset Restarts the system
- Download Downloads the image you see on the canvas, the filename contains all the settings and it’s time stamped so you can download as much as you want without bothering to rename the files
- Fullscreen If you’re feeling adventurous with the framerate, go fullscreen and get as much resolution out of the sketch as possible (note: this really just sets the page to fullscreen, not the canvas - which would be an improvement I realize)
Finally, if you end up generating something cool be sure to share and let me know - say you can always @ me on Twitter, I would love to see what you made.
