# Blog Upgrades - Header Image color scheme
Published: 2018-05-13
Tags: blog, jekyll, dev, changelog
For the longest time I've been meaning to do a design overhaul on this blog but my life outside [the workplace](https://www.homestay.com) is either filled with more work or my zombifying completely in a universe of idiotic multitasking what passes for entertainment and not actually achieving anything - this is an actual issue I've been going through for a while now and I can acknowledge it in certain moments of clarity but I haven't been able to fix it - #LifeHowDoesItWork. This means that the whole "REDESIGN ALL THE THINGS" pipe dream as surprisingly remained a dream but I can do the next best thing - VERY TINY INCREMENTAL IMPROVEMENTS AND/OR STUFF THAT I THROW AT THIS BLOG.
So, a big part of the original design of this space was to give images a prime spot and none gets more emphasis than the post header so I wanted to do something around that. Namely, given I **try** to use photographs for the headers and they, usually, carry a lot of color, I wanted to modify the look of the post page based on the colors present in the picture, so each post would have it's own visual identity based on the header image I used.
## Fine, we get it, let's get to the details
Alright alright, so, details then. This blog is built using [Jekyll](https://jekyllrb.com/), so it uses [Ruby](https://www.ruby-lang.org/en/) and that's what I'm going to work with. My first goal was to have __something__ look at an image and give me a given number of colors that show the most in that image. While I could obviously work on designing and building my own wheel - which would be great and amazing thank you very much - I decided to take a look at [`imagemagick`](http://www.imagemagick.org/script/index.php) and use the Ruby binding provided by [`rmagic`](https://github.com/rmagick/rmagick) - because let's face it, I would build a square wheel anyway.
Now of course, [`imagemagick`](http://www.imagemagick.org/script/index.php) is capable of generating a [`color_histogram`](https://rmagick.github.io/image1.html#color_histogram) and that pretty much solves the issue for me, but because what I really really want is a feel for the most important colors in the image and not every single individual color in it, I use another great little method called [`quantize`](https://rmagick.github.io/image3.html#quantize) which does *exactly* what I want.
So with that, I iterate over all the posts that have header images and I do something like
```ruby
def colormap(img_path)
Magick::Image.read(img_path)
.first
.quantize(NUMBER_OF_COLORS, Magick::SRGBColorspace, Magick::RiemersmaDitherMethod)
.color_histogram
.keys
.sort_by(&:intensity)
.map do |color|
# 8-bit rgb representation
color.to_color(Magick::AllCompliance, false, 8)
end
end
```
Roughly what's happening here is:
1. I'm reading the image using the [`read command`](https://rmagick.github.io/image1.html#read)
1. I tell `imagemagick` to reduce the number of colors in the image to a given number - I picked 5 because `much arbitrary opinion`
1. With that reduced image I grab the color histogram - this gives the list of colors in the image
1. For the sake of predictably I sort the colors by the `intensity` value - darker to brighter
1. Finally I need to map color value to something I can use on the site, so I ask for the 8-bit version of the color and I get a direct hexadecimal value - great
### Update (2020-05-05)
Now's a good time to update this, recently I've scaled up considerably the generation of colormaps on the blog which made one thing very clear, `rmagick` is not a good option in terms of performance - at least in it's default form. So bad in fact that the colormap generation would either exhaust the VM's resources or - after I tweaked a bunch of imagemagick settings - take 5 minutes or more to generate all the colormaps.
Anyway, I looked at doing everything from `libvips` - as part of [the updates I did](/blog/2020/05/05/blog-updates) - but I couldn't find an obvious path to do that so I stuck to `imagemagick` but I now call it via a mogrified command using [`MiniMagick`](https://github.com/jimneath/mini_magick). The updated code looks like this now
```ruby
class Colormap
NUMBER_OF_COLORS = 5
def initialize(path, number_of_colors = NUMBER_OF_COLORS)
@image = MiniMagick::Image.open(path)
@path = path
@number_of_colors = number_of_colors
end
def colors
@image
.run_command(
'convert',
@path,
'-resize', '256x256',
'-quantize', 'sRGB',
'-format', '%c',
'-colors', @number_of_colors,
'-dither', 'Riemersma',
'-depth', 8,
'histogram:info:'
)
.split("\n") # One line per color
.map { |v| /(\#[A-Z\d]*)/.match(v).to_s } # Match anything that looks like #ACOLOR1
end
end
```
Go with this instead, same results - scalling the image down also brings performance benefits .
Now, there's one important detail regarding the process of reducing the colors, which is the color space we want `imagemagick` to work in, which you can sort of get a feel for what it's doing [here](http://www.imagemagick.org/Usage/quantize/#quantize). I played around with this for a while - in an impressive display of color theory ignorance - and I ended up going back to the RGB colorspace as that seem to give me the best results. Here's how the experiments went:
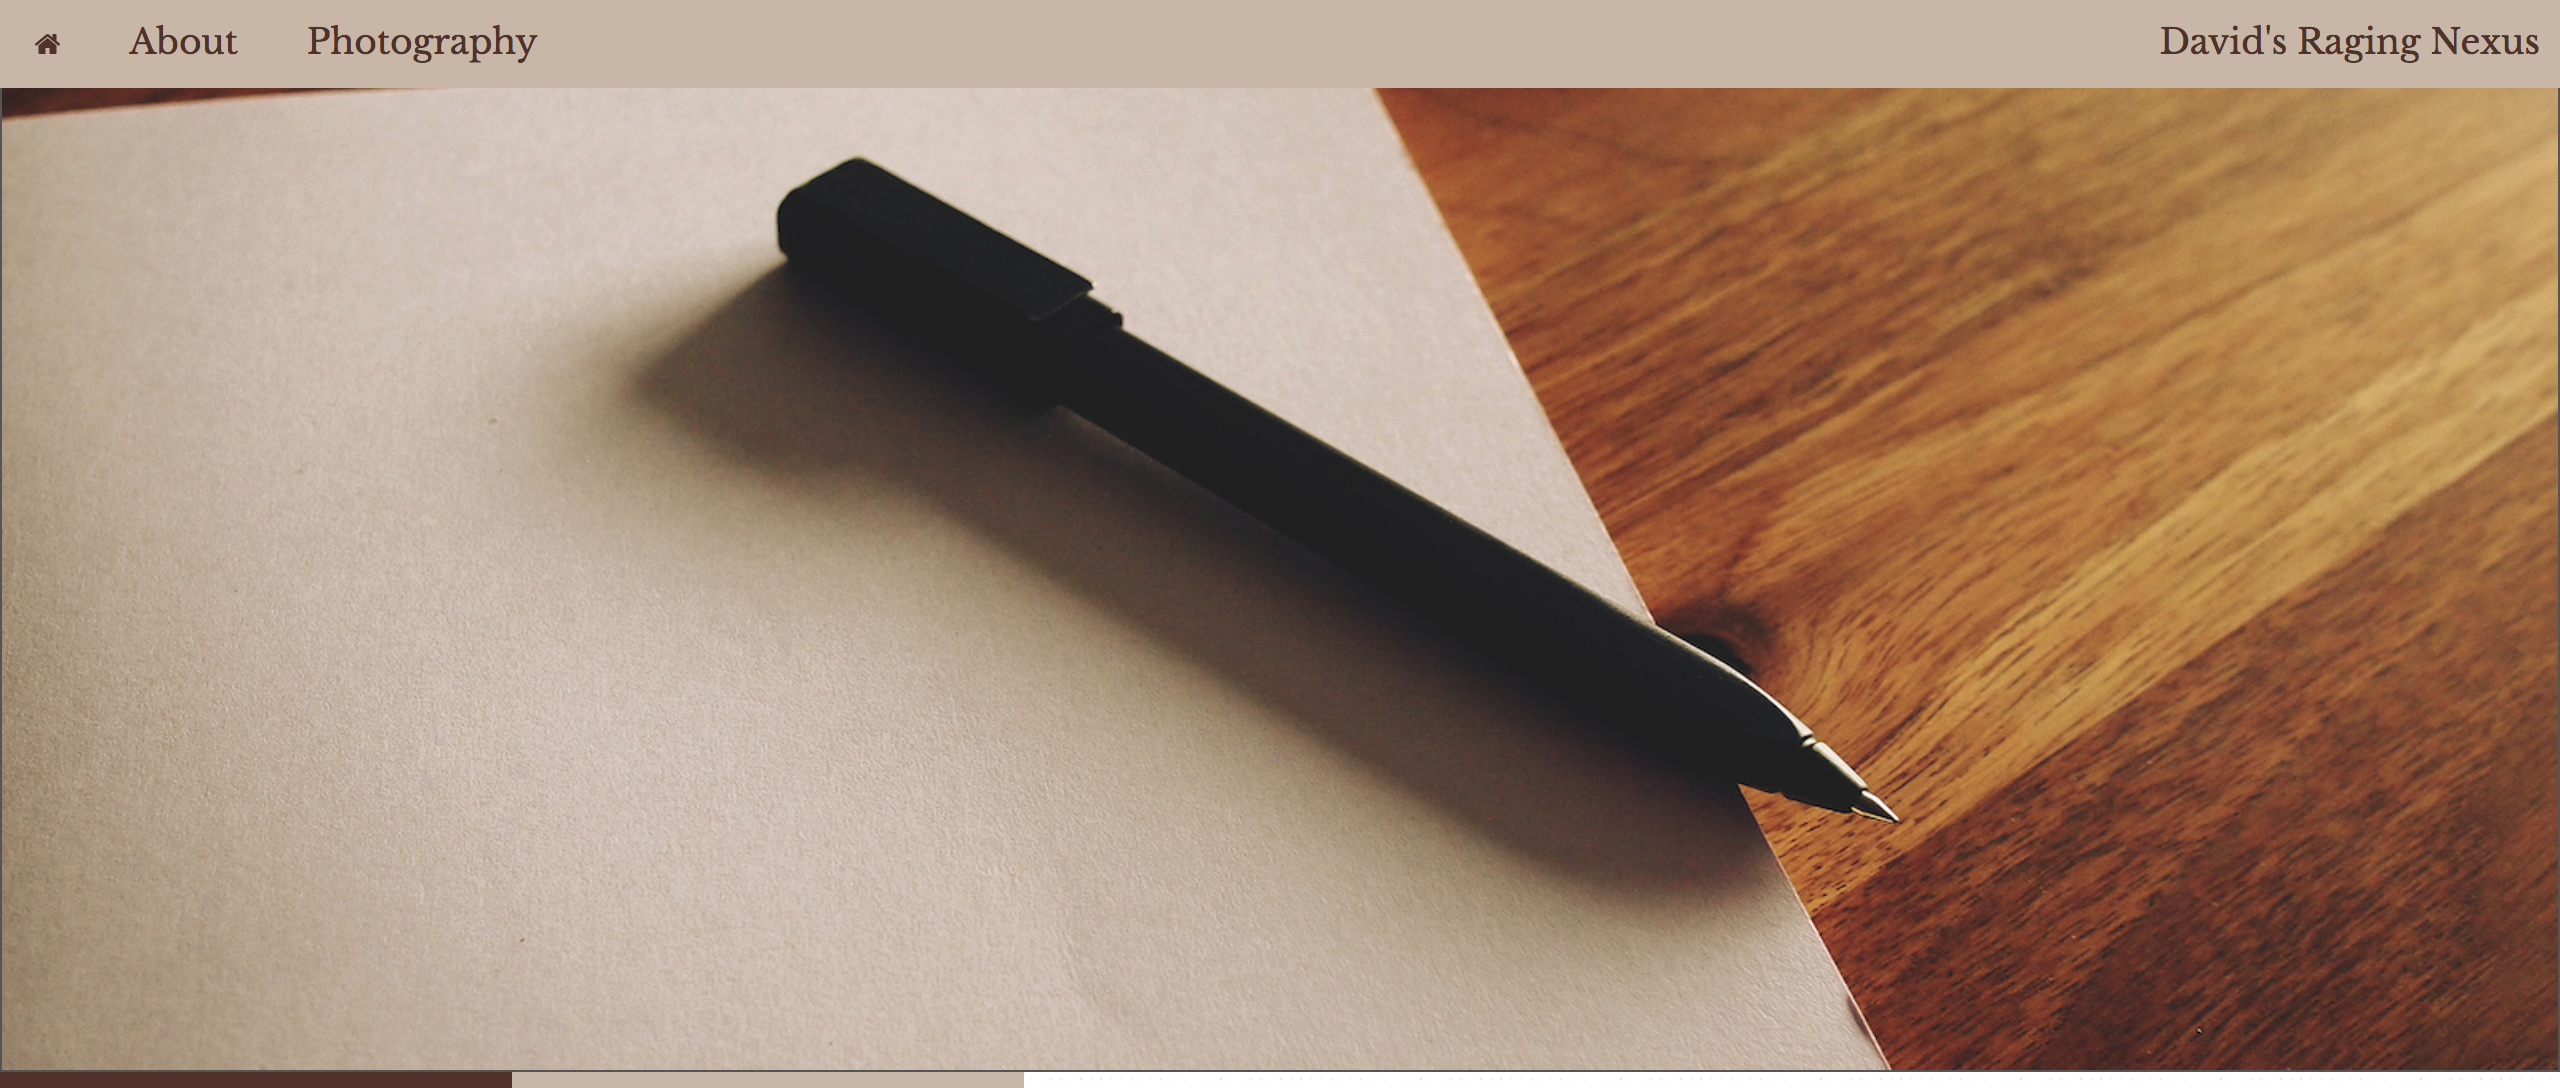
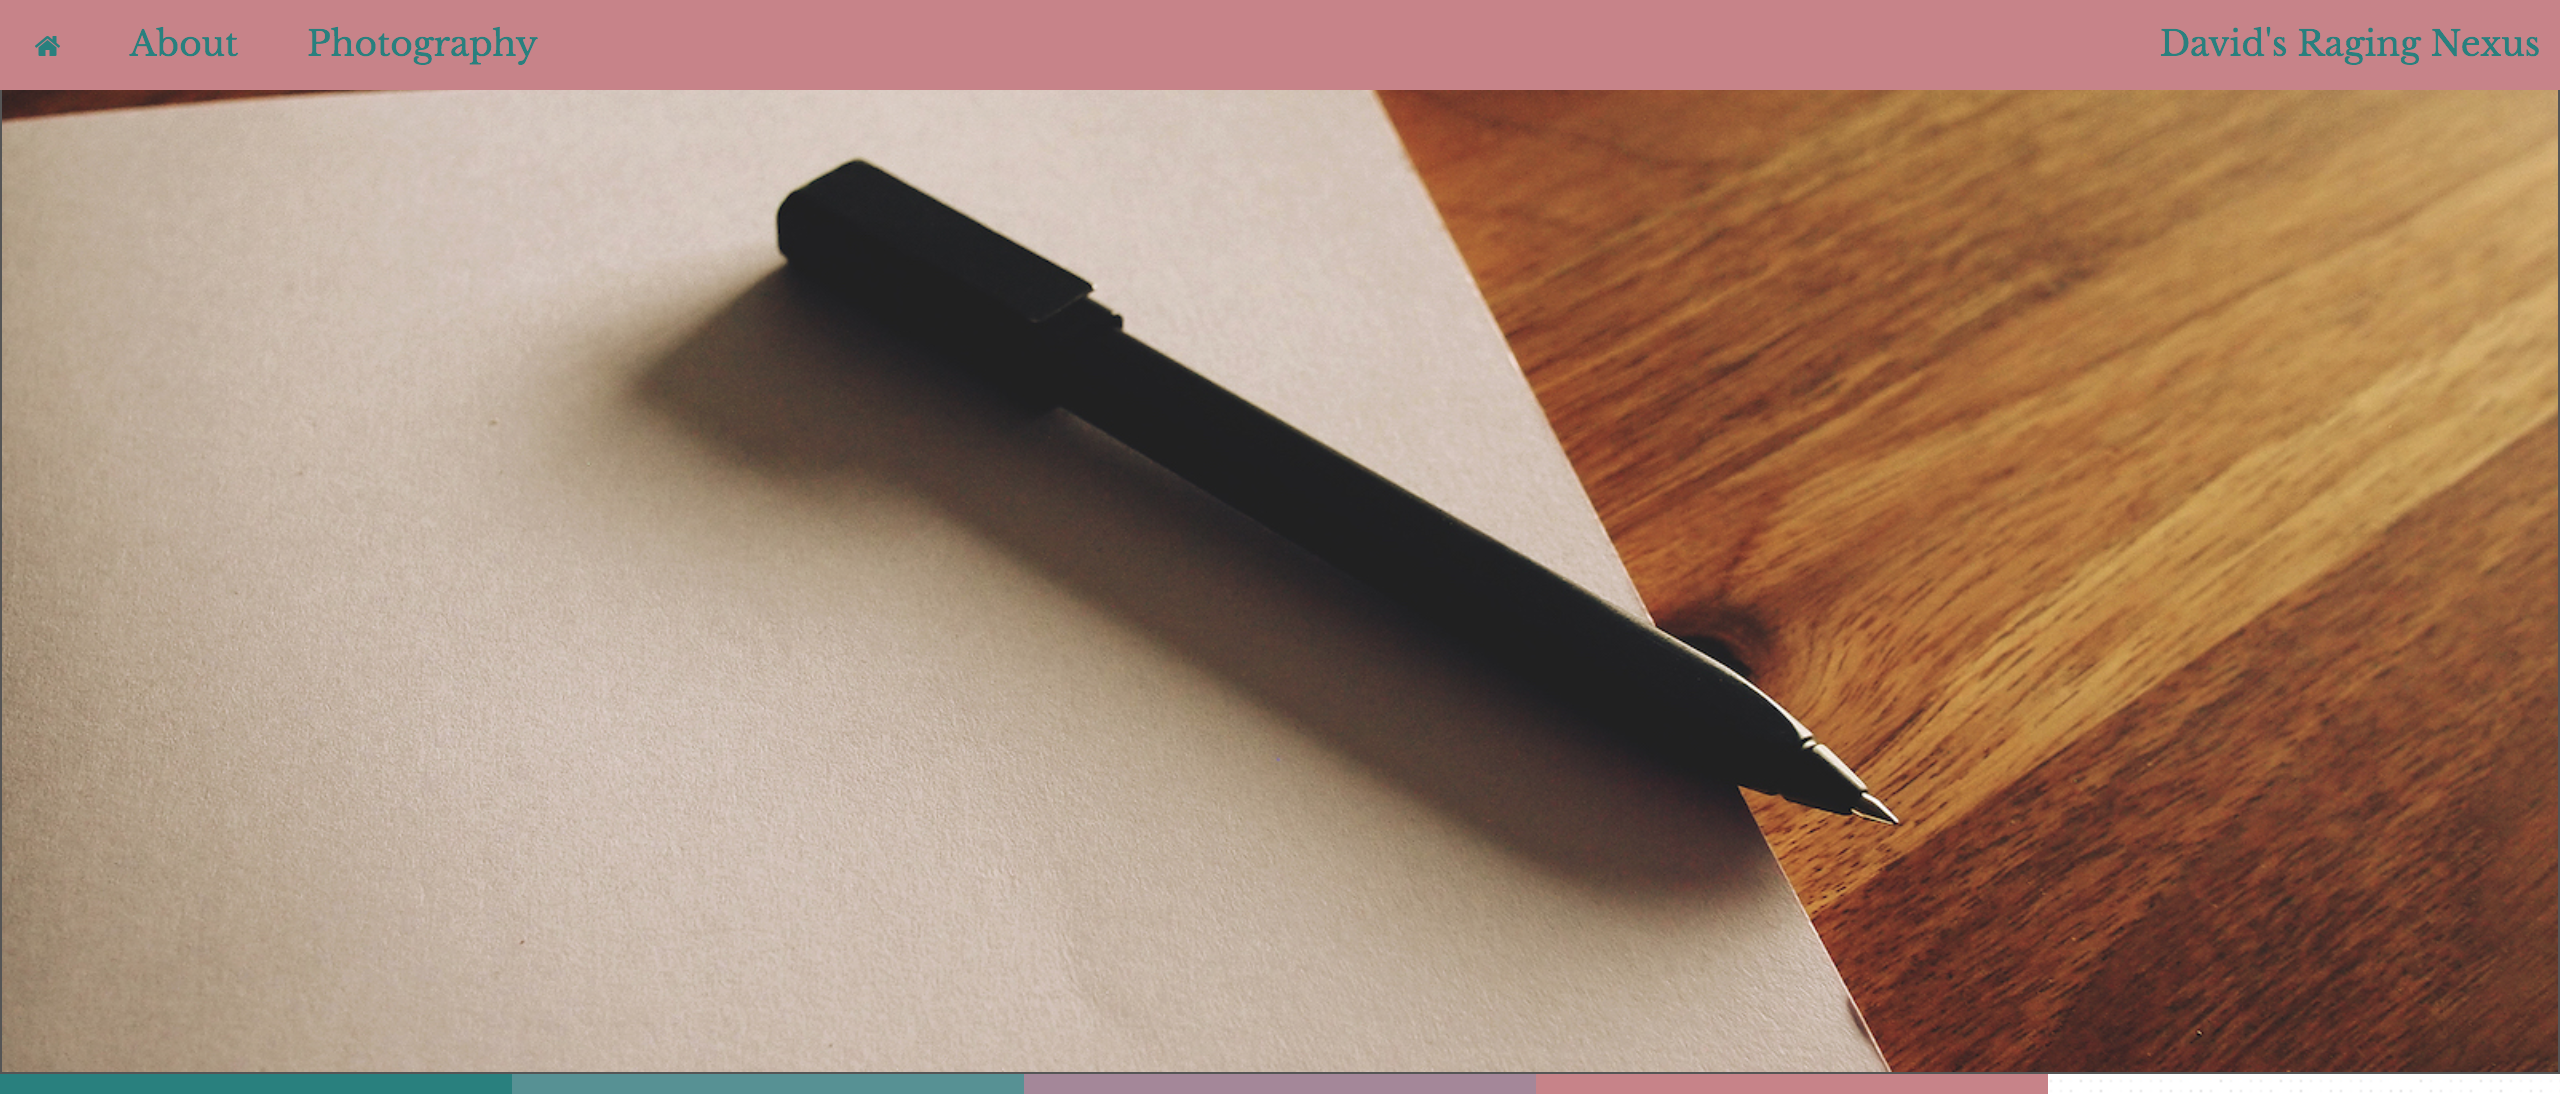
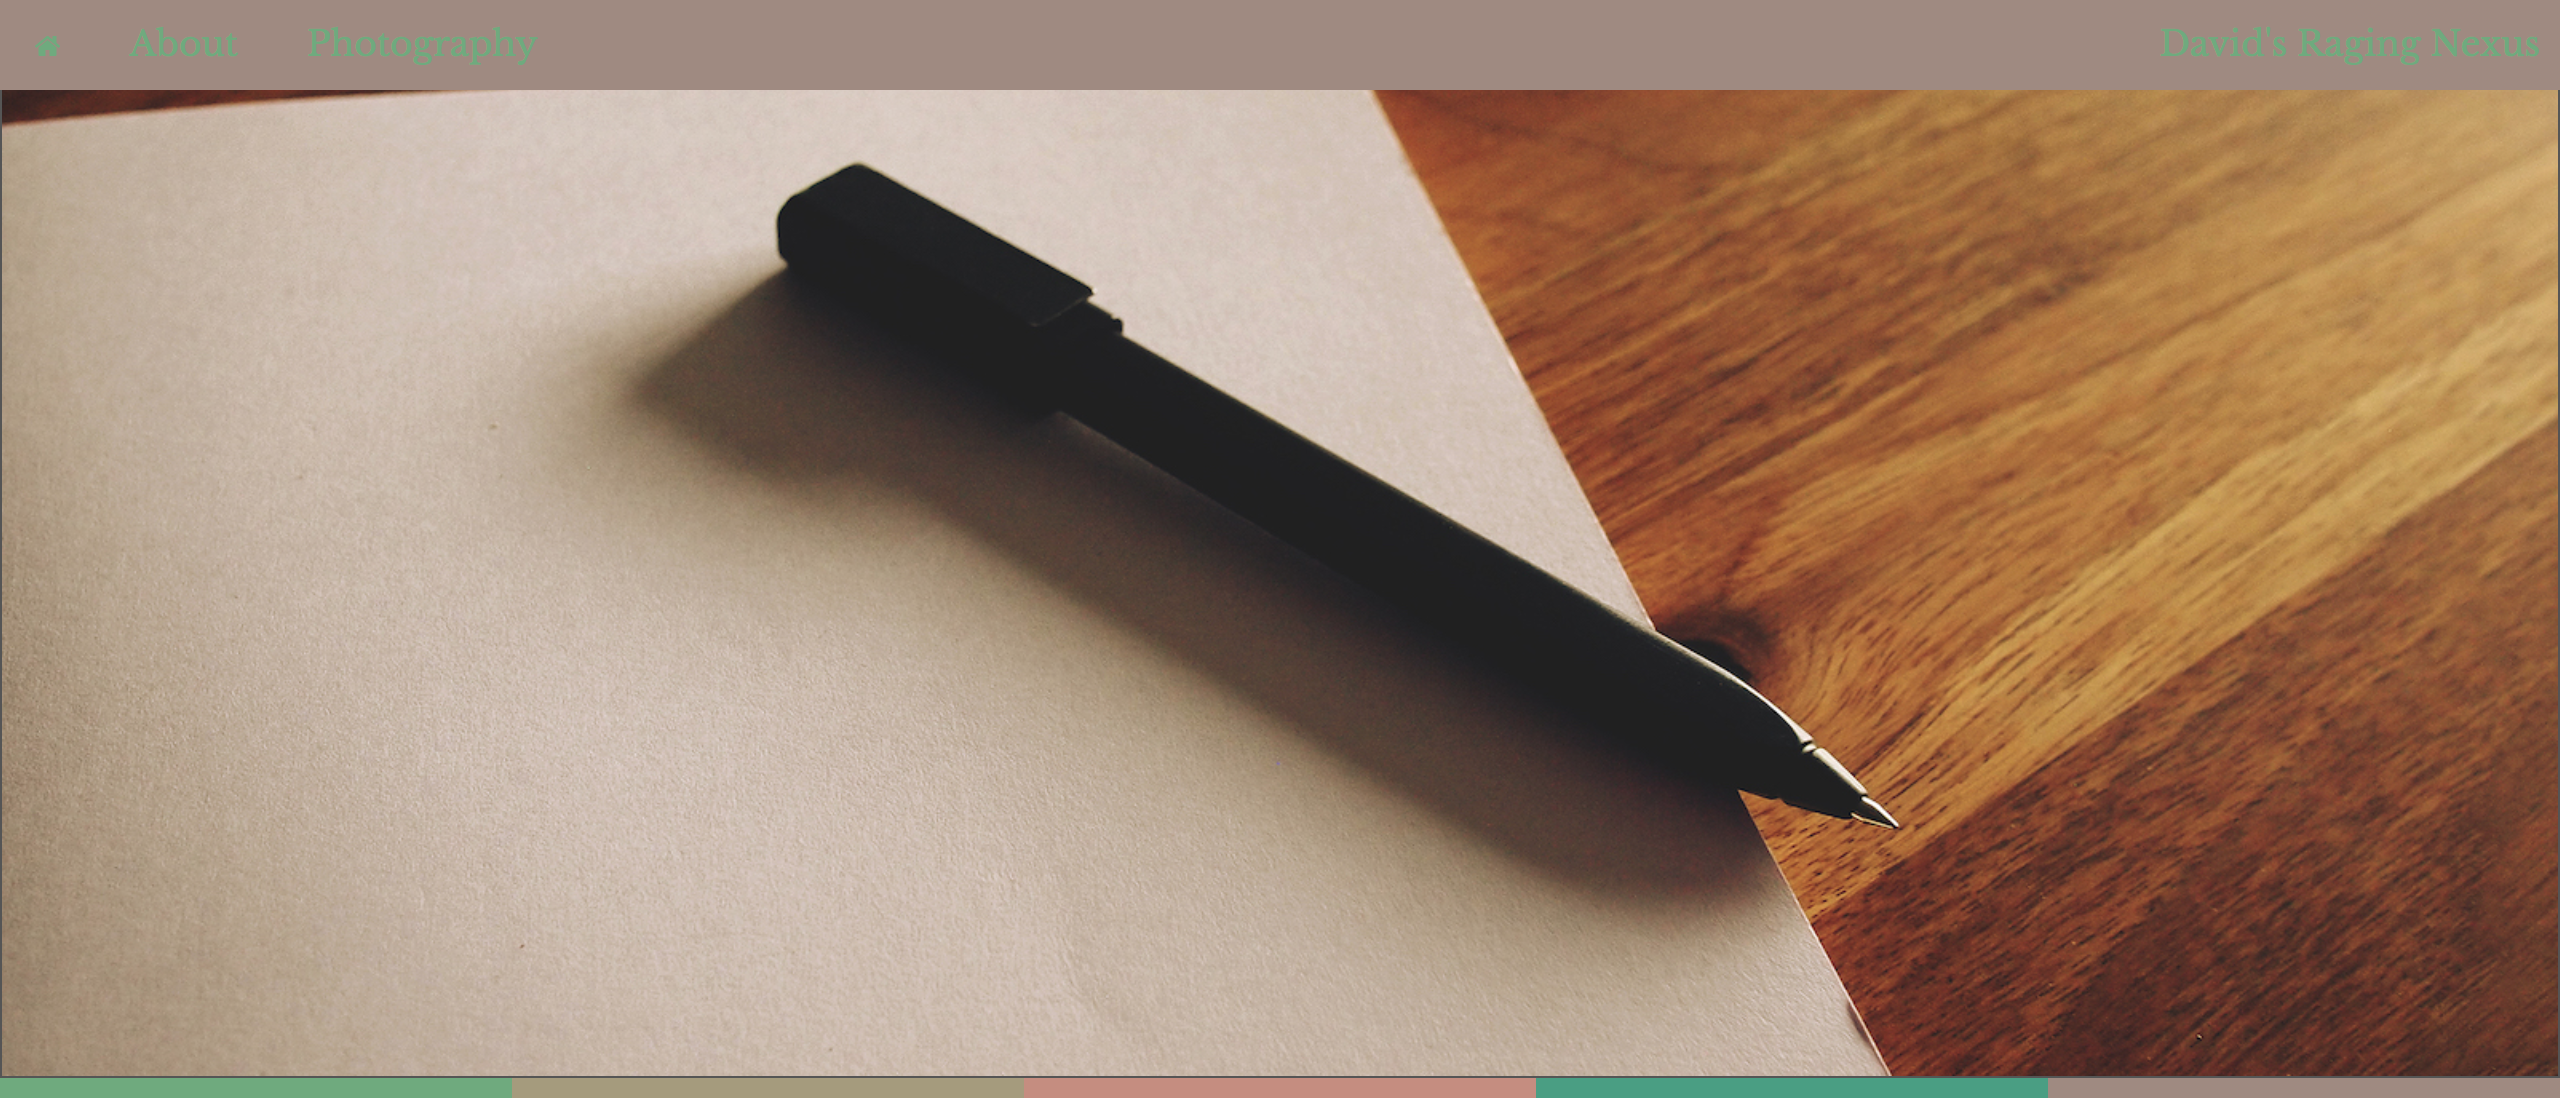
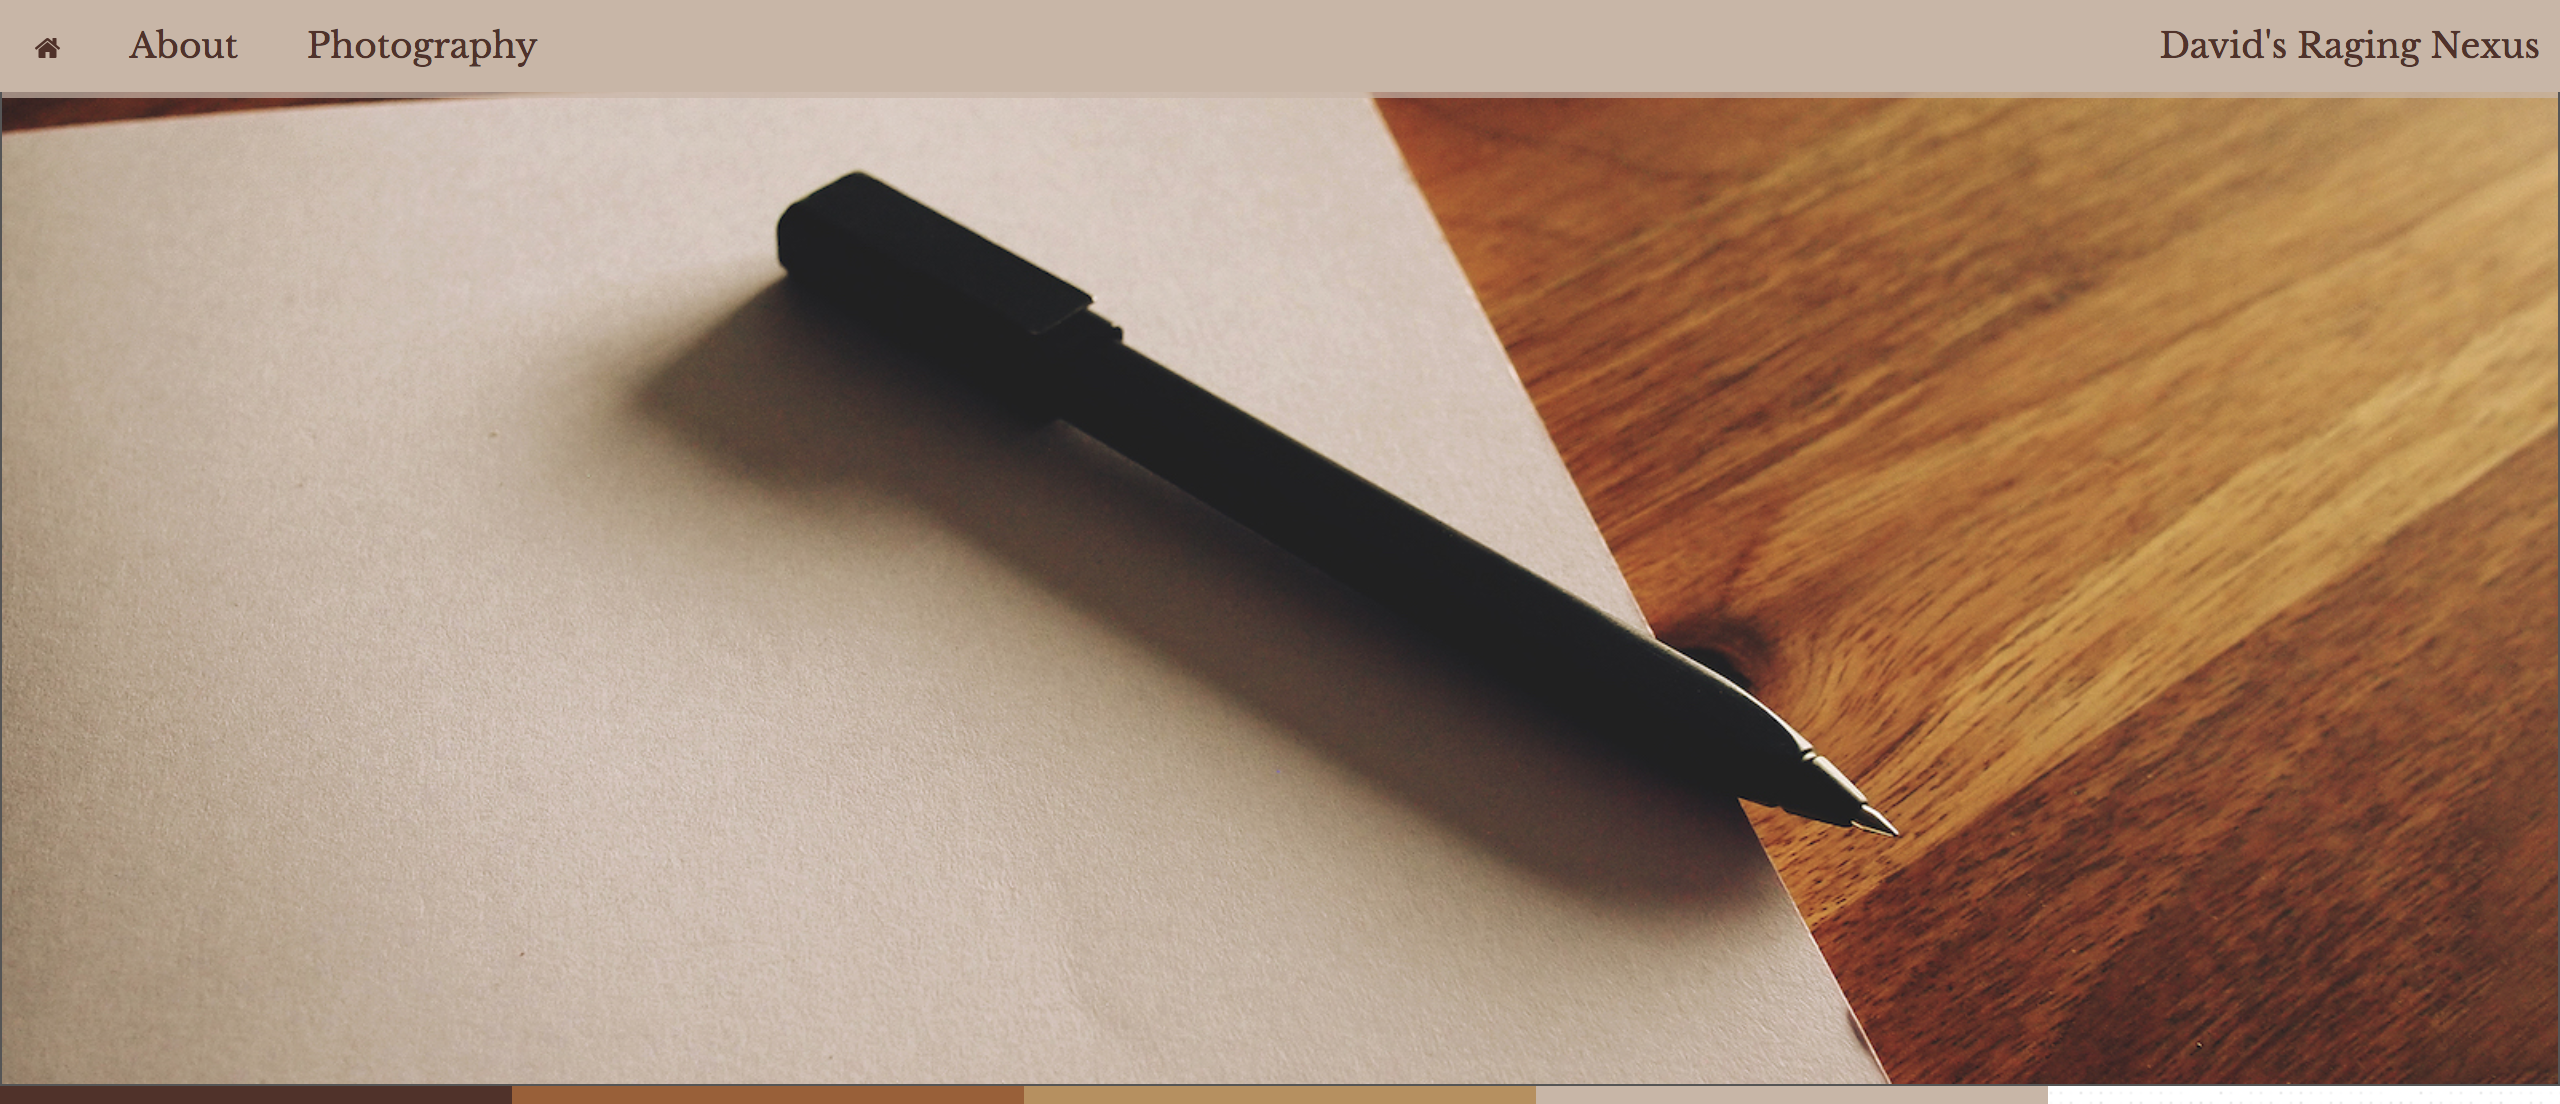
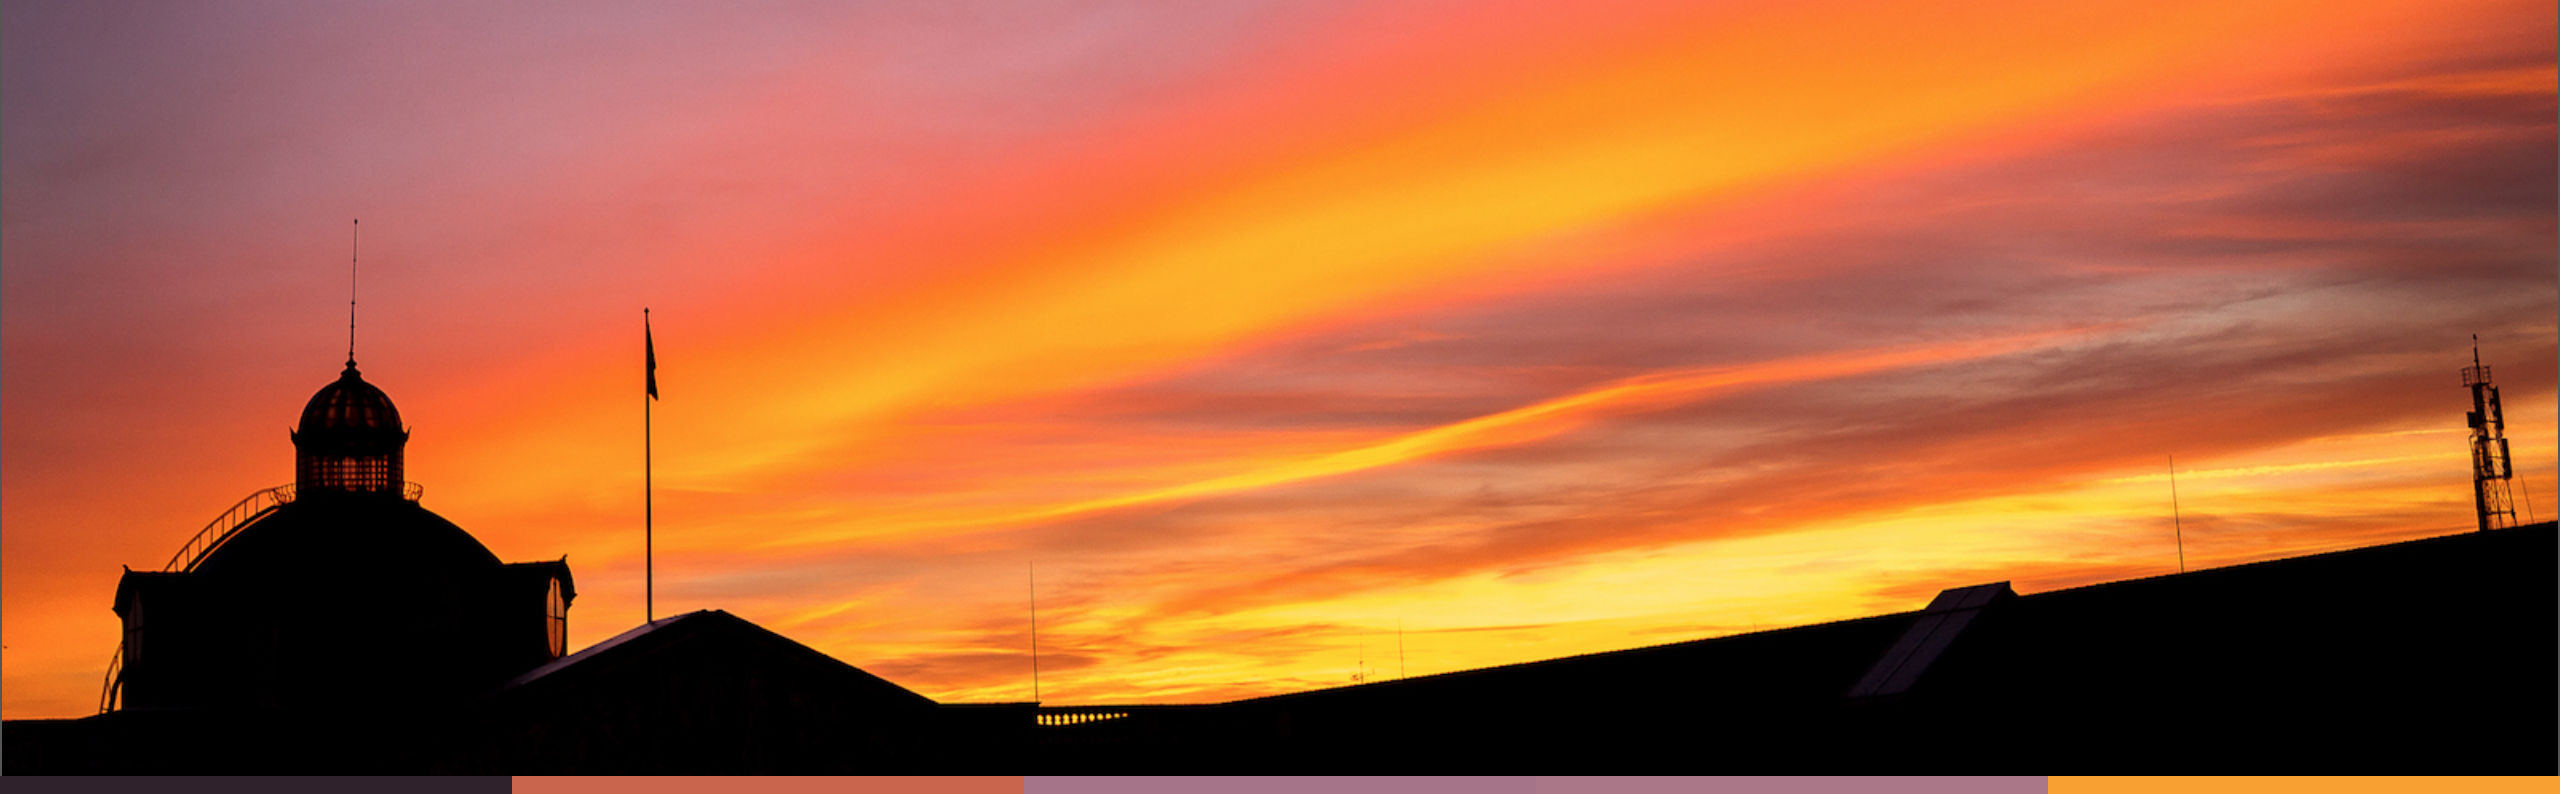
Reducing using the CMYK colorspaceReducing using the HSL colorspaceReducing using the Lab colorspaceReducing using the YIQ colorspaceReducing using the YUV colorspaceReducing using the SRGB colorspace - this is the one I used
## And then ?
So with this I can now inject a list of colors onto each post. With these I do two things:
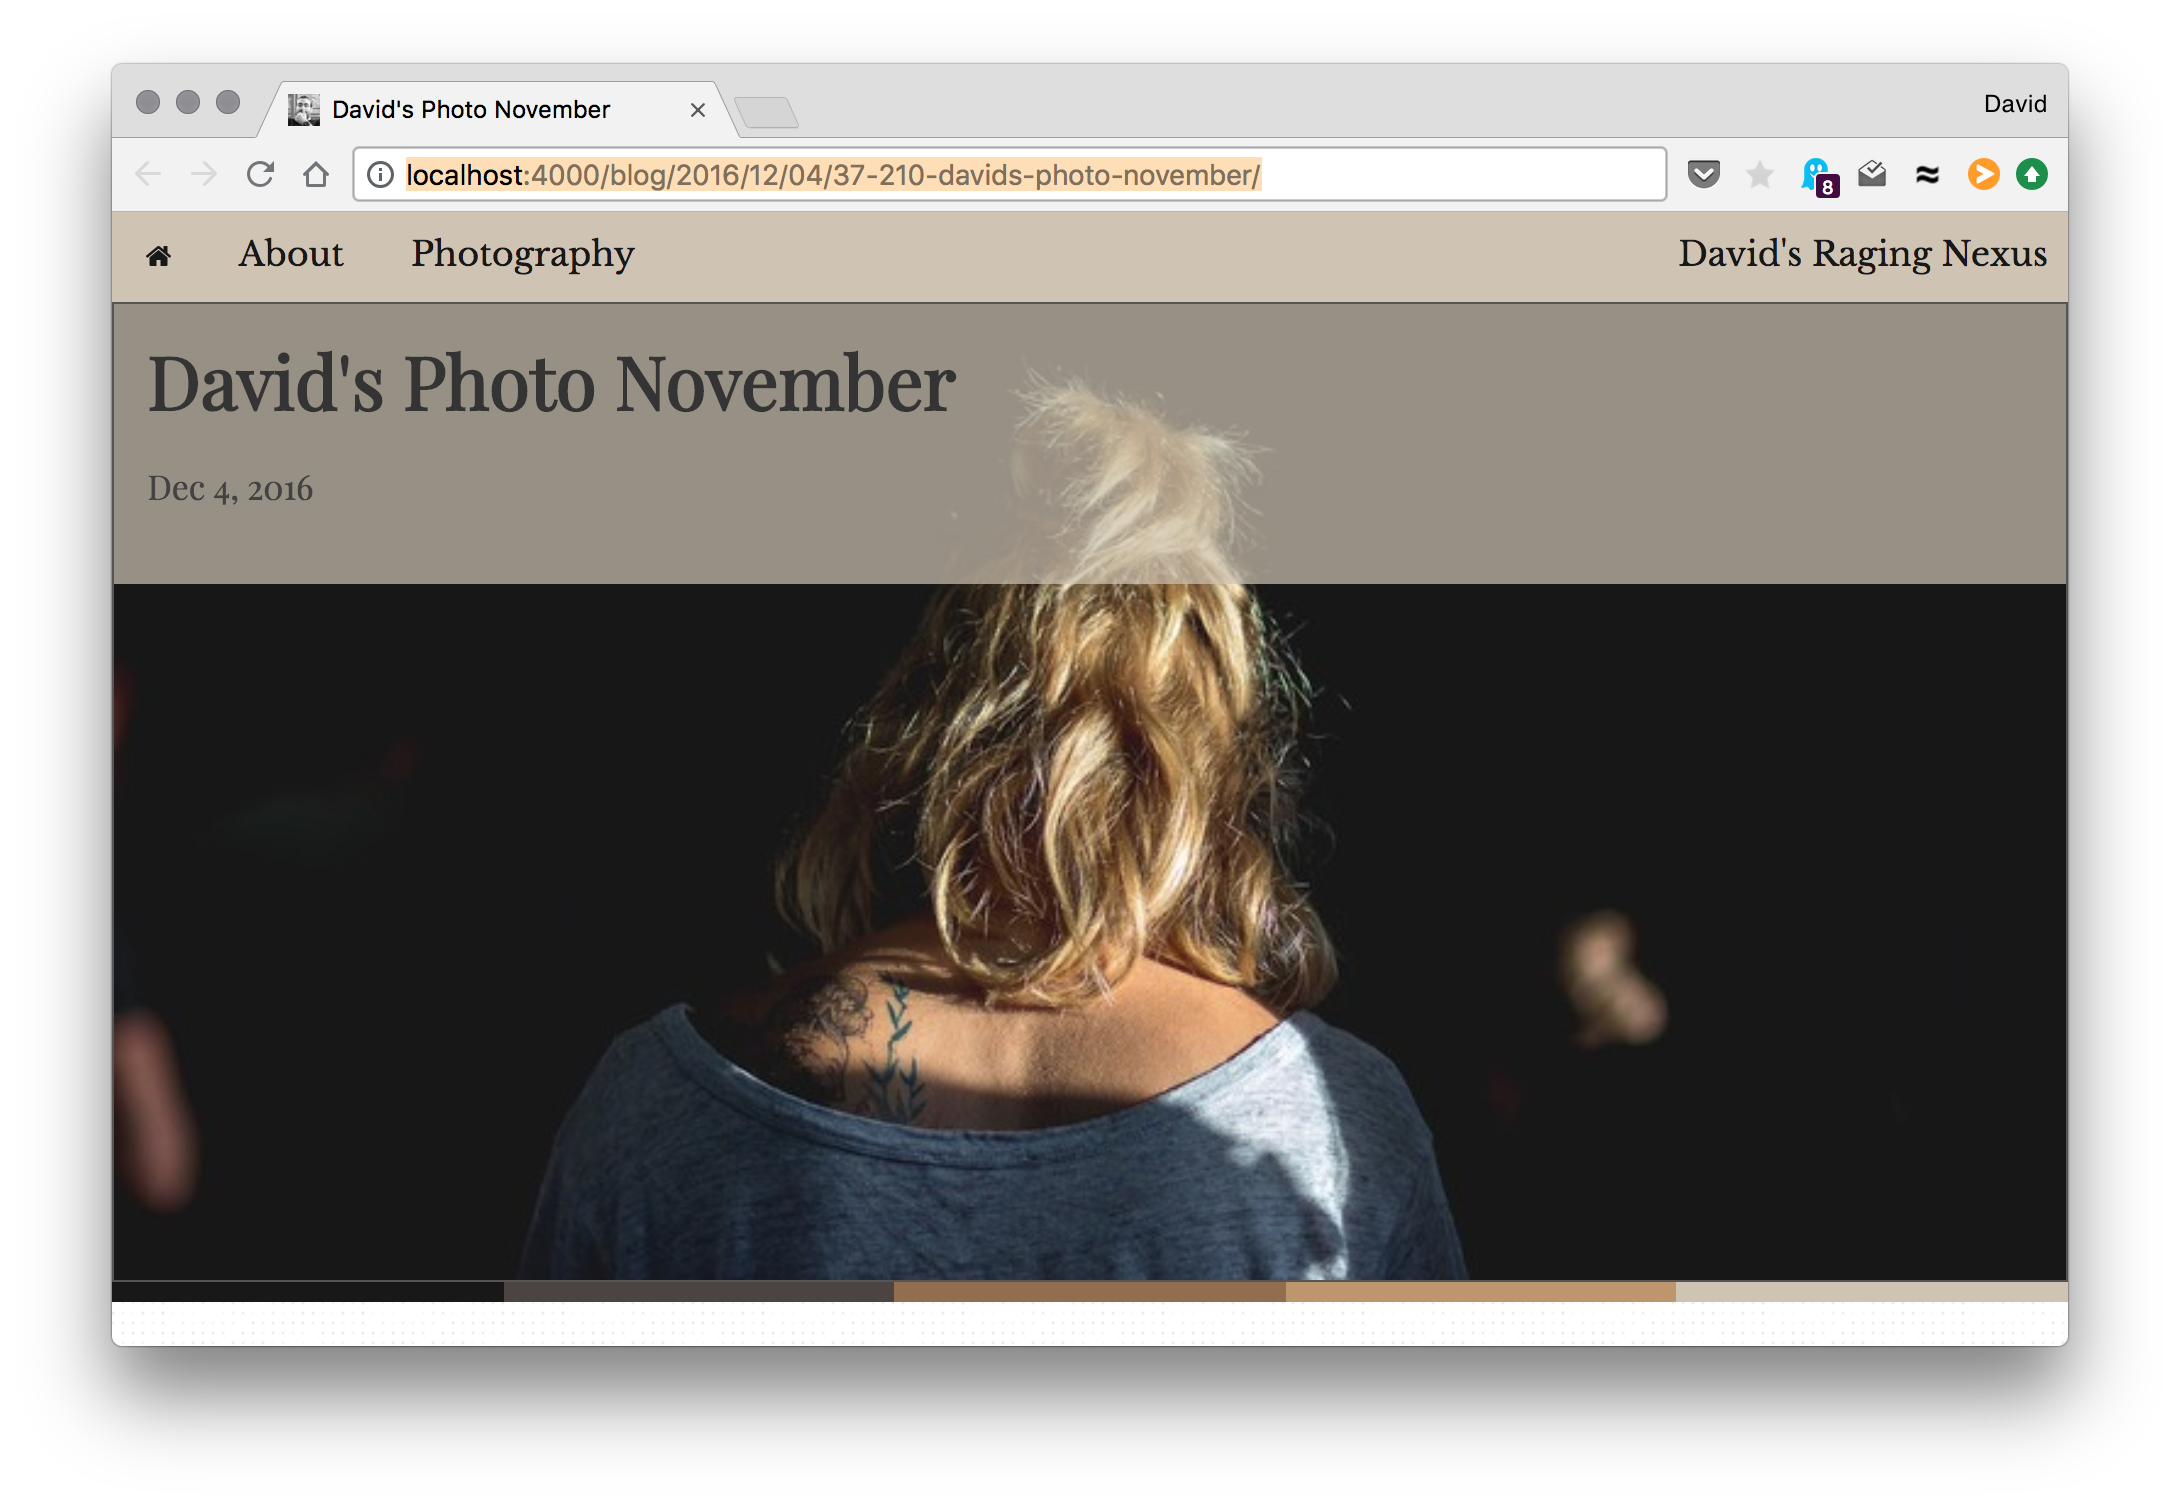
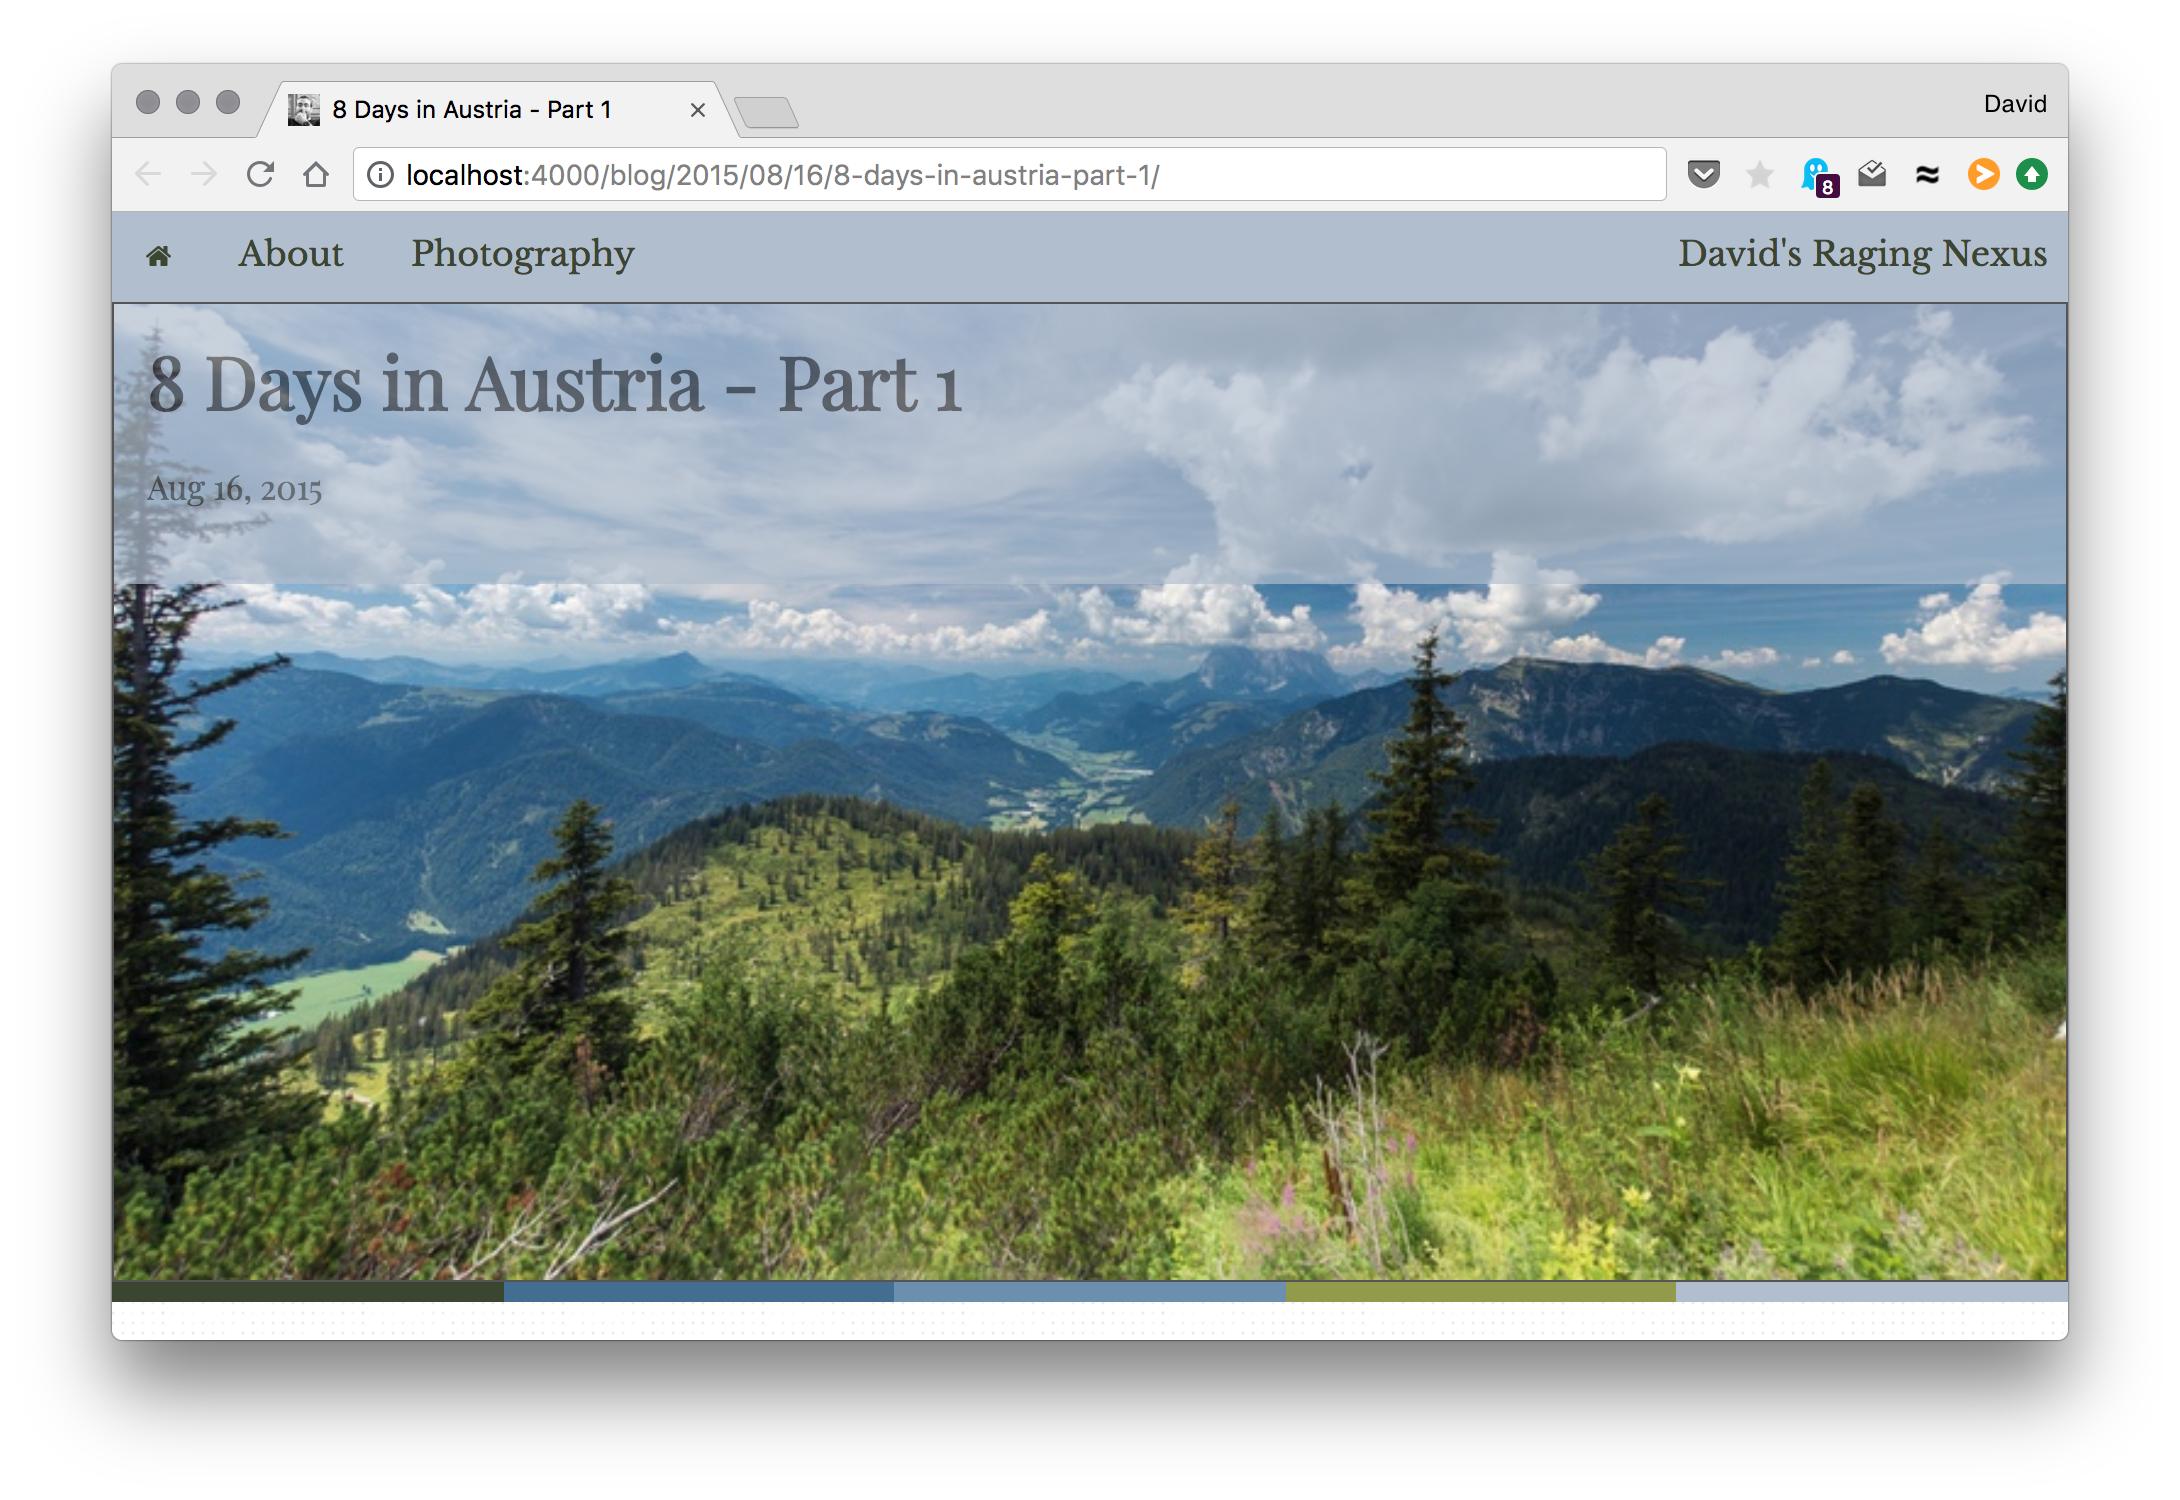
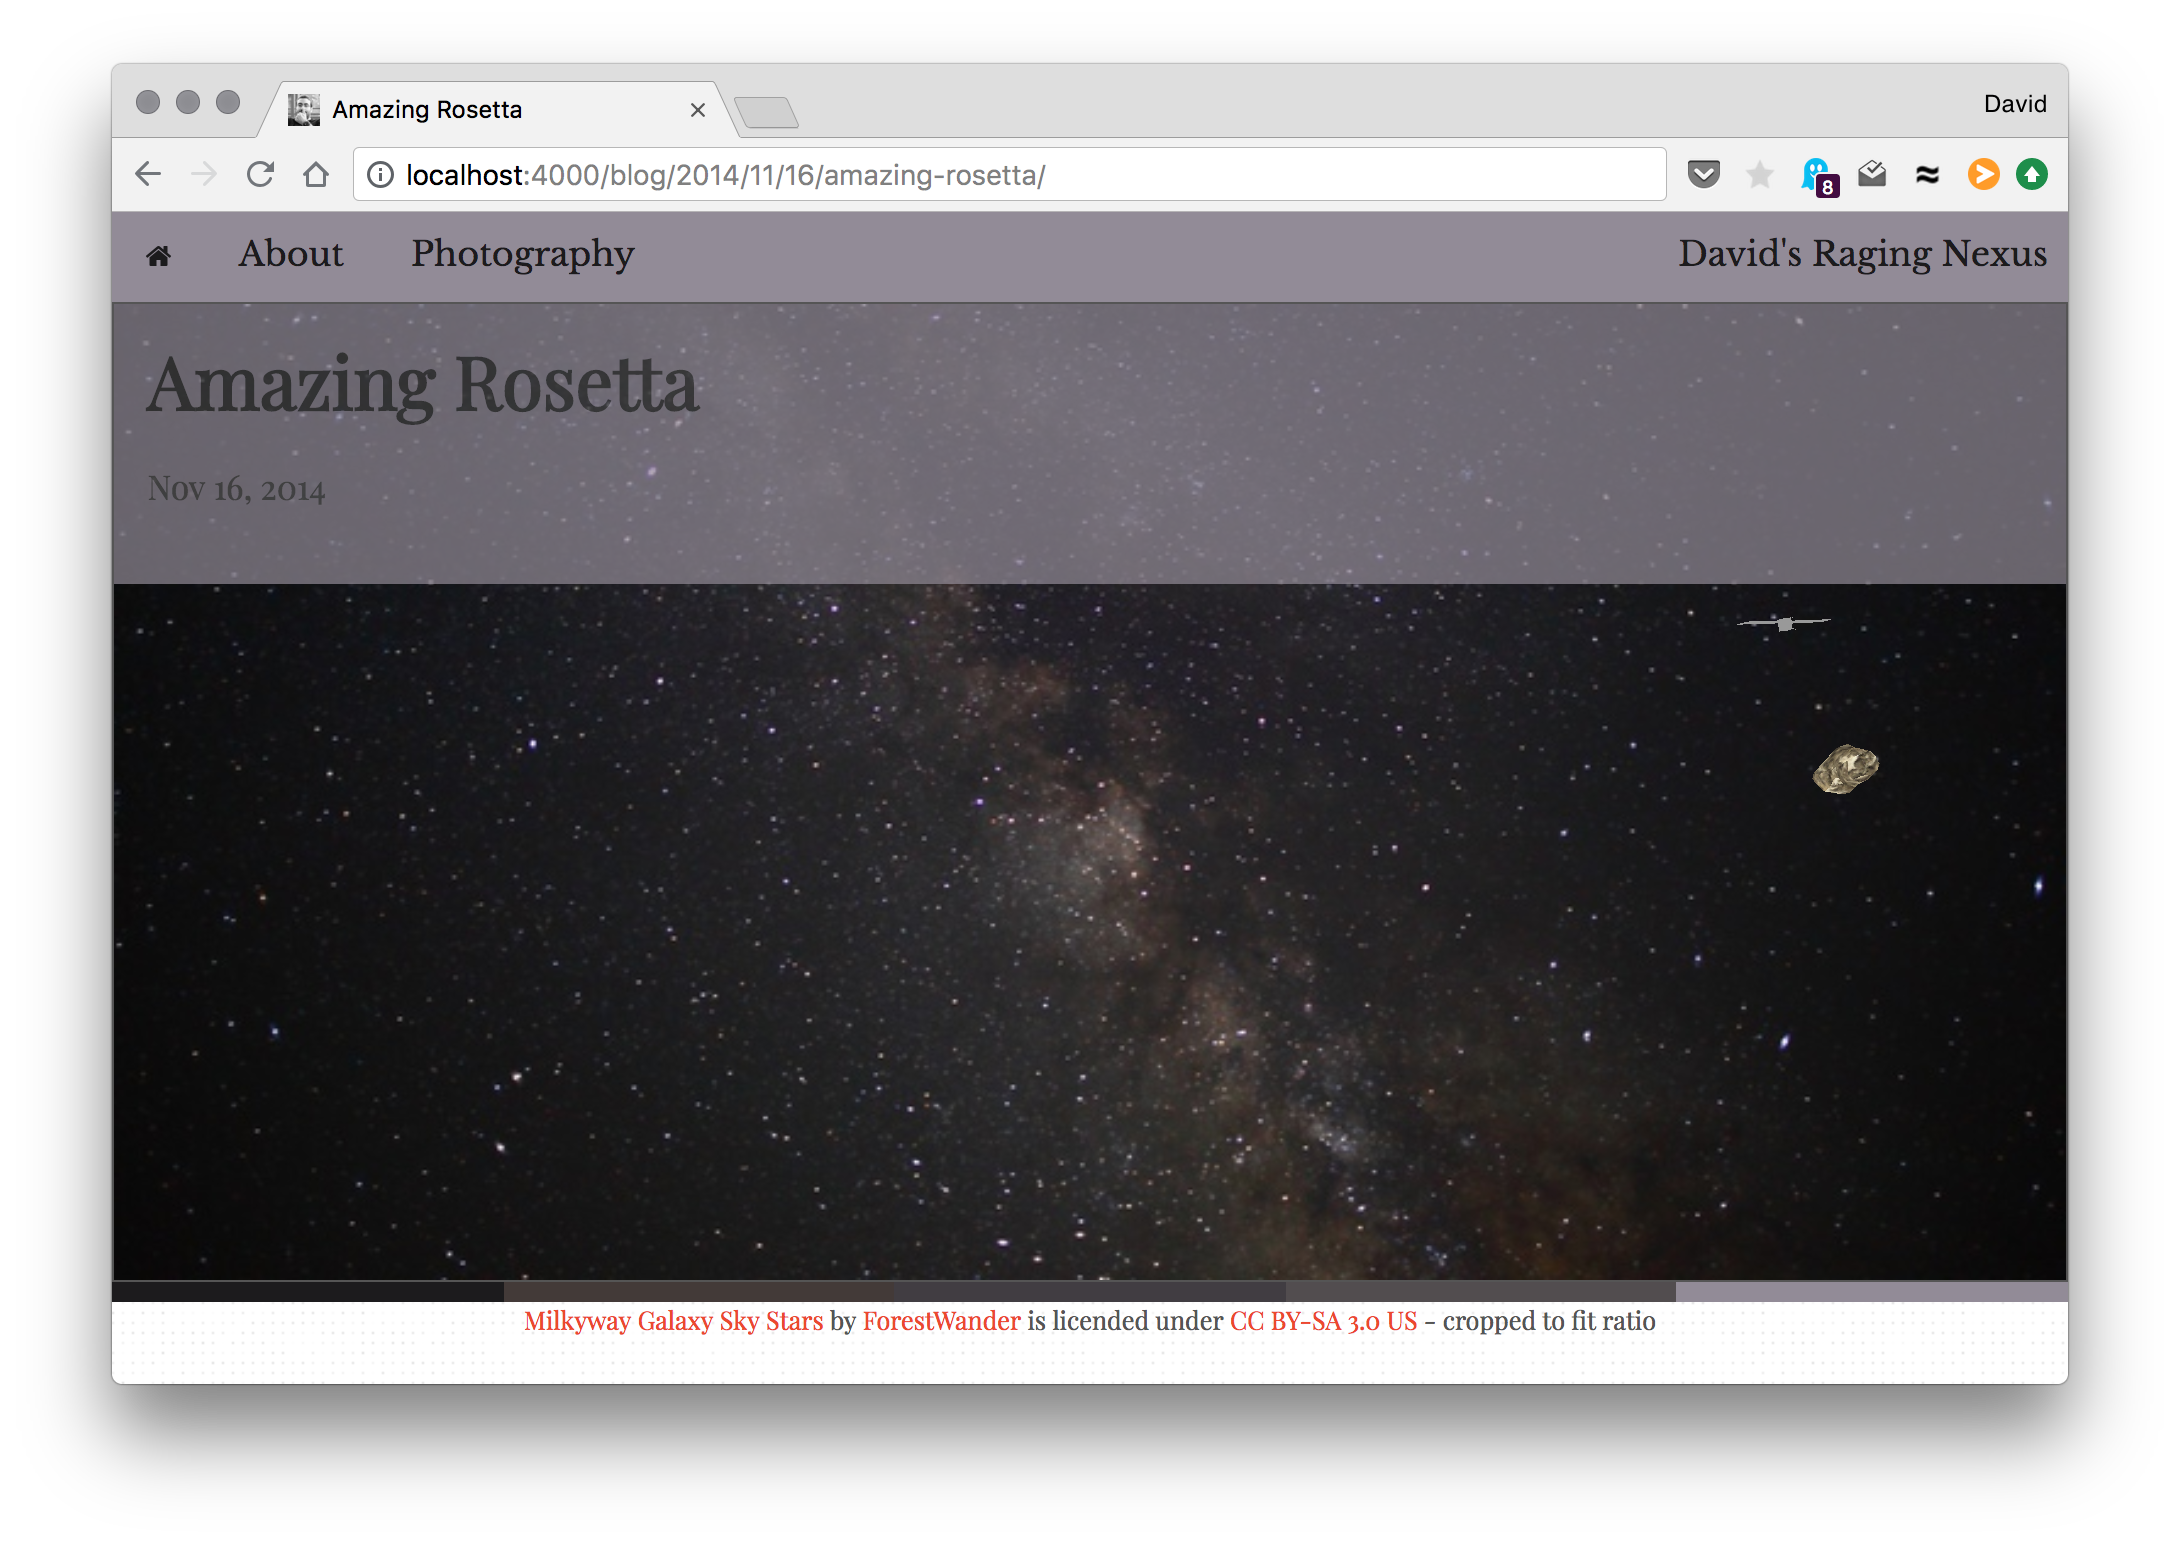
1. I added a color bar at the bottom of the image header so I can see the results. This is the typical case of a debugging tool that was promoted to "this is what I wanted all along"
2. I change the colors of the navigation and the post title block to match the colors of the image. Namely I take the brightest and the darkest and that influences the color of the text and background. This also means that now I have to make sure I pick images with enough contrast for this to always work out well in terms of readability, but there's nothing I don't do to make it more difficult for me to do things #SelfSabotage101
Here are a few examples:
## Next up?
A MAJOR DESIGN OVERHAUL OF COURSE!!!!!!!